

Pinner Studio · RAW editor
Edit like you think about a picture.
A RAW editor built on film colour science, where every edit is a card you can switch off, every idea can branch, and you can simply type warmer, lift the shadows. Everything runs on your computer, and the original file is never touched.
RAW, colour, masks, film, lens corrections, HDR and panorama merge, soft proofing, scopes and print-ready export, in the same app as your library and your books.
Start here
What sets the Editor apart
Every editor has sliders. These are the parts of Pinner's Editor that change how editing feels.
★ The Stack · key S
Your edit as cards
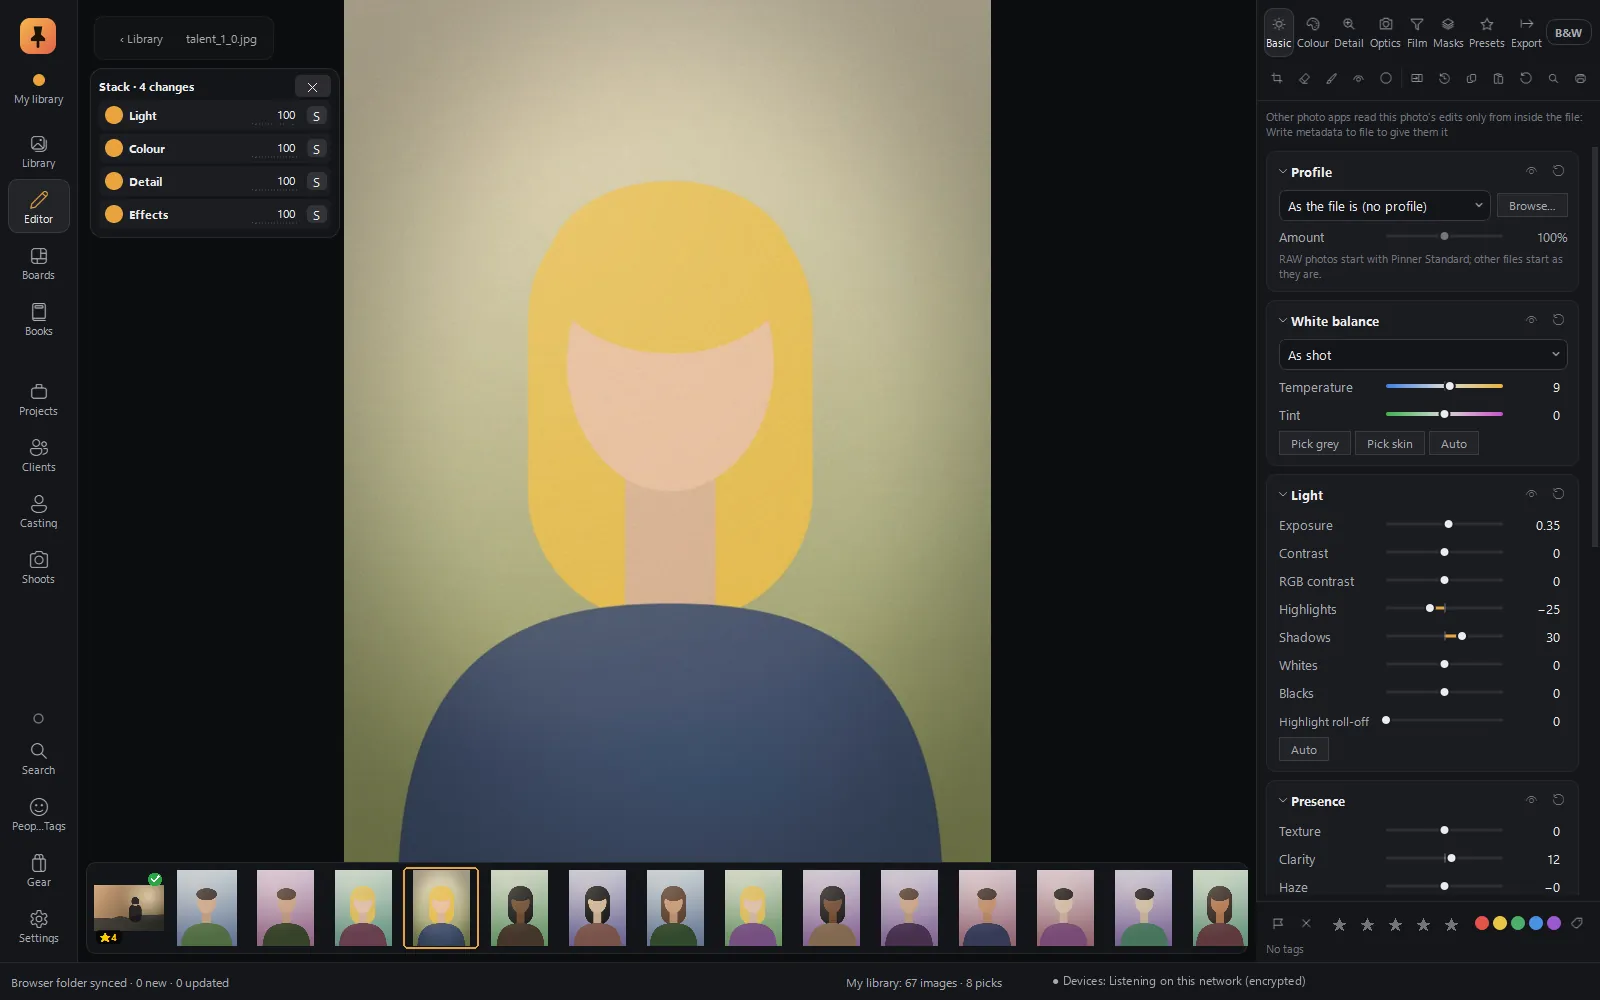
Every edit you make collects into a Stack of cards: Light, Colour, Film, a mask on the sky, and so on. Each card can be switched off, soloed to see only what it does, or turned up and down with its own strength. A look stops being a pile of sliders and becomes a few named ideas you can weigh against each other.
See what each idea is doing. Switch it off, solo it, or dial it back to 60 %.
★ History · keys H and M
History that branches, with moments you name
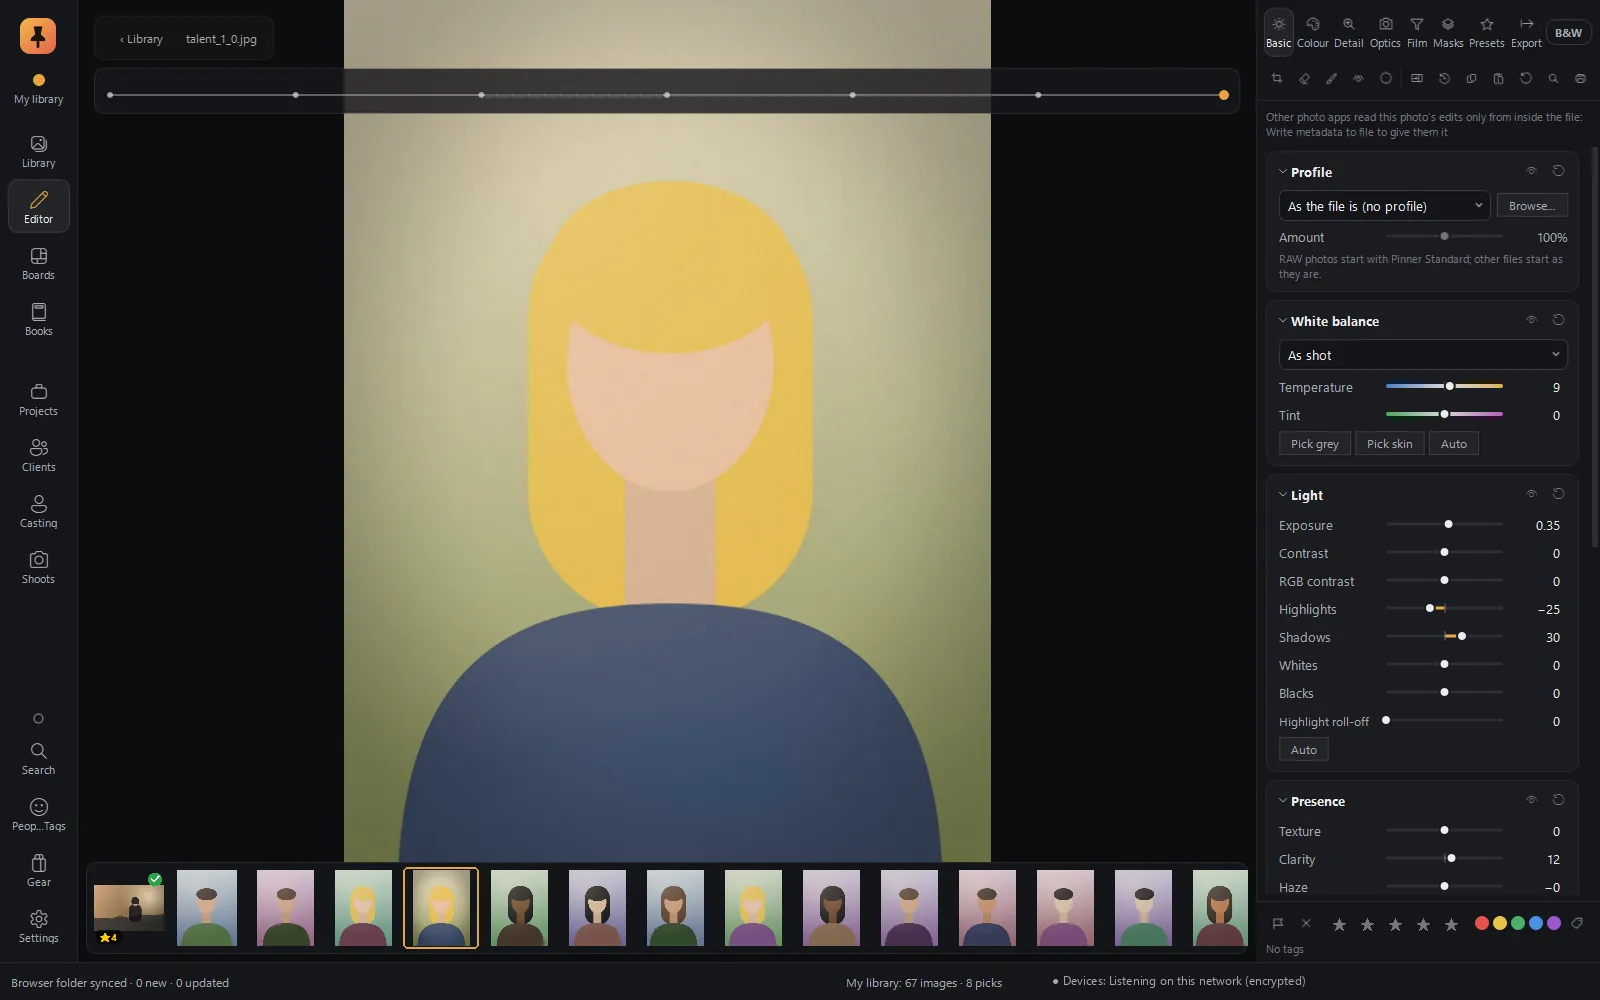
Go back and try something else, and the old path stays as a branch. Press M to name a moment, such as before the grade or client's favourite, jump between moments, and use any of them as the before when you compare. Versions keep several finished looks of the same photo side by side, without copying the file.
Go back without losing the way forward.
★ Explore · key V
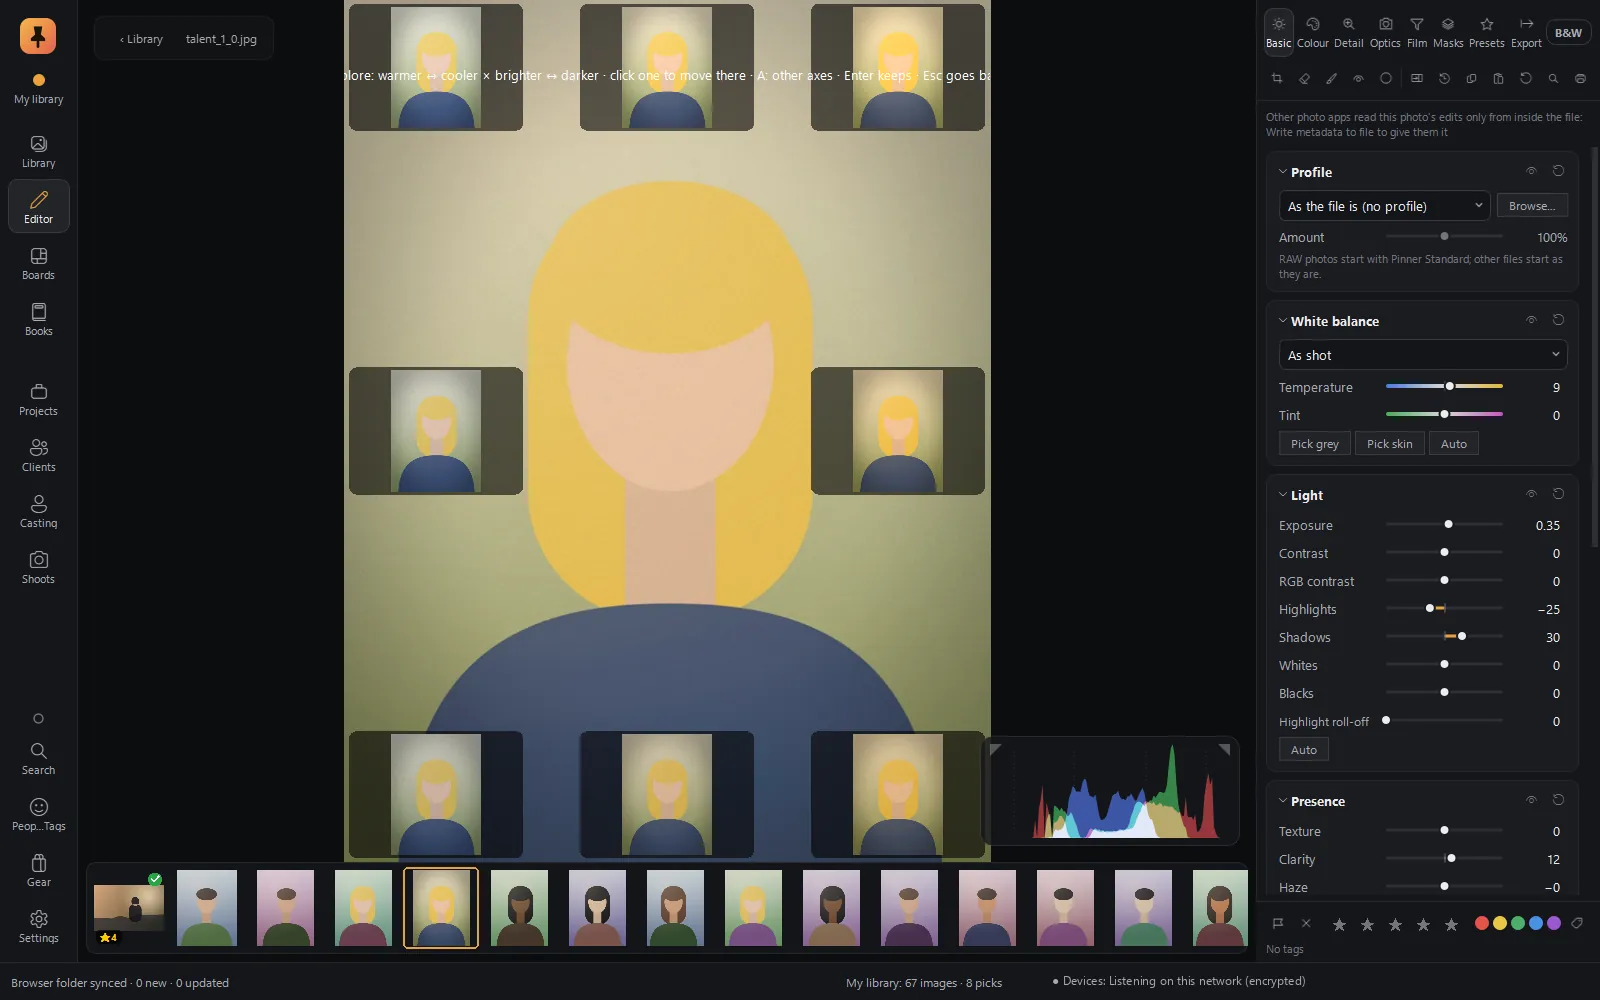
Nine versions at a glance
Explore lays out a 3×3 grid of your photo, each a step along two directions at once, such as warmer to cooler across and brighter to darker down. Press A for other pairs of directions. Click the one you like and it becomes your edit: the fastest way to find a direction when you don't yet know what you want.
★ Command bar · key /
Type what you want
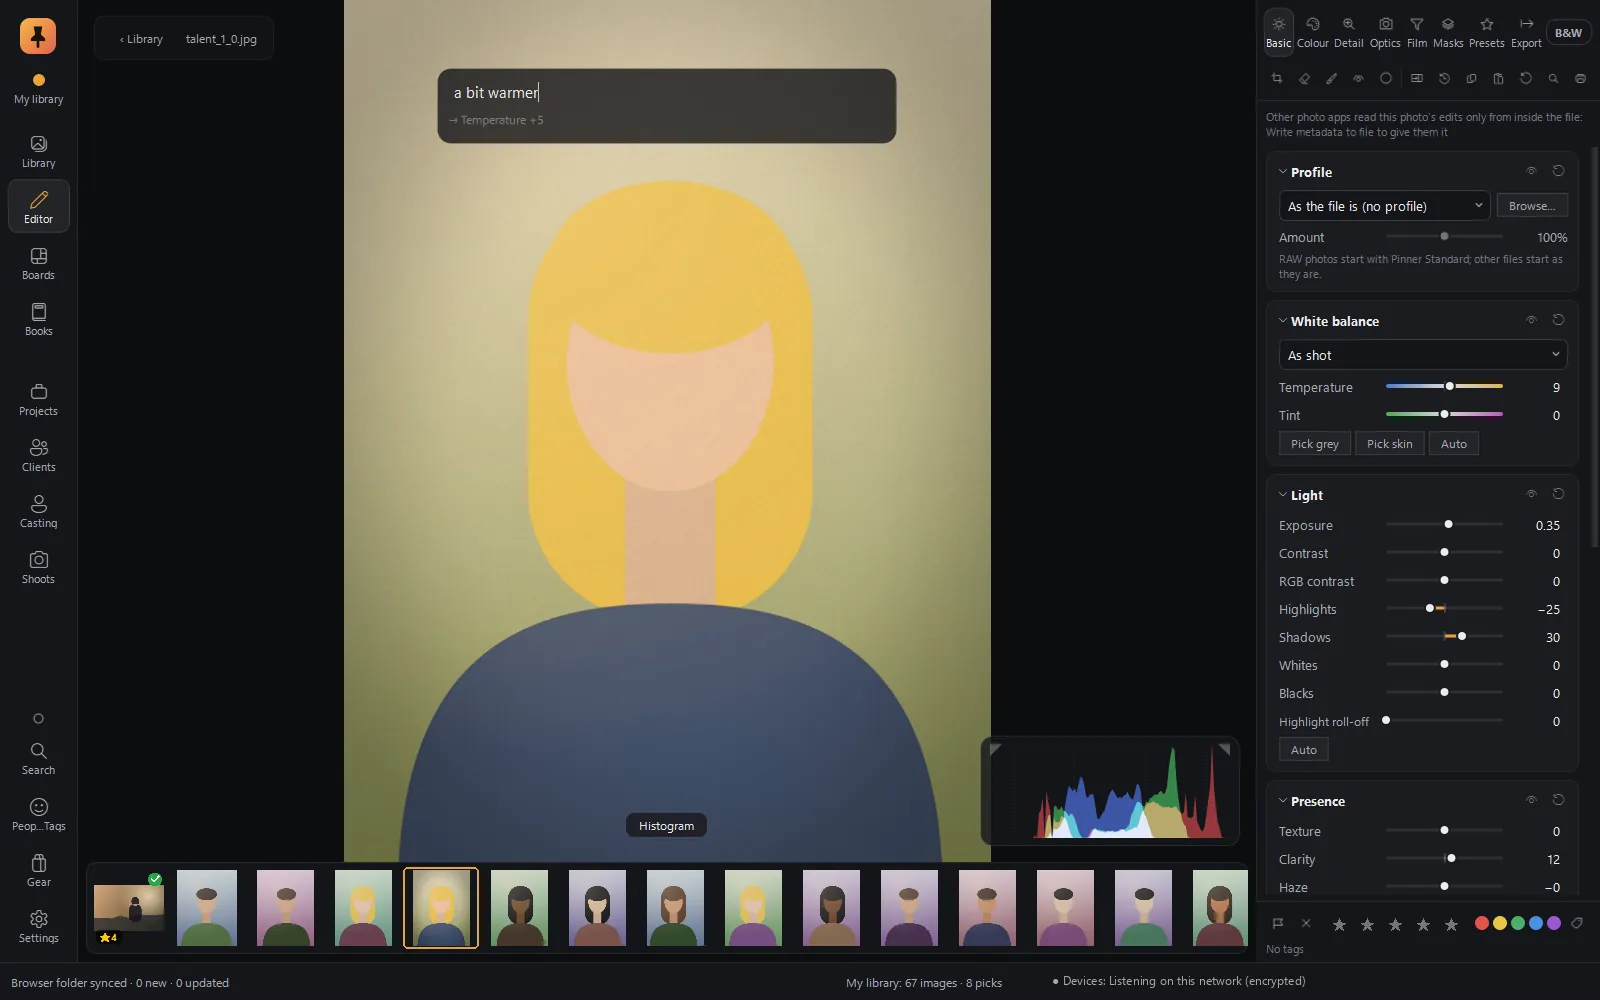
Press / and type in plain words: warmer, lift the shadows, a bit more contrast, grain 20, square crop. Pinner reads the phrase and makes the change, and Tab steps through other readings if it guessed wrong. It understands a photographer's vocabulary on your own computer, with no online service and no language model, so it's instant and private.
Say it the way you'd say it to an assistant.
★ Film colour, built in from the ground up
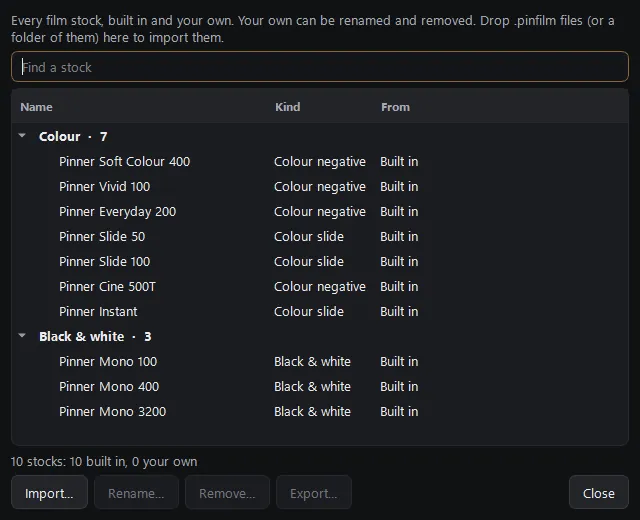
Film isn't a filter laid on top. The Editor's colour is built on how film responds to light, and the Film panel gives you ten stocks to start from: Pinner Soft Colour 400, Vivid 100, Everyday 200, Slide 50, Slide 100, Cine 500T, Instant, Mono 100, Mono 400 and Mono 3200.
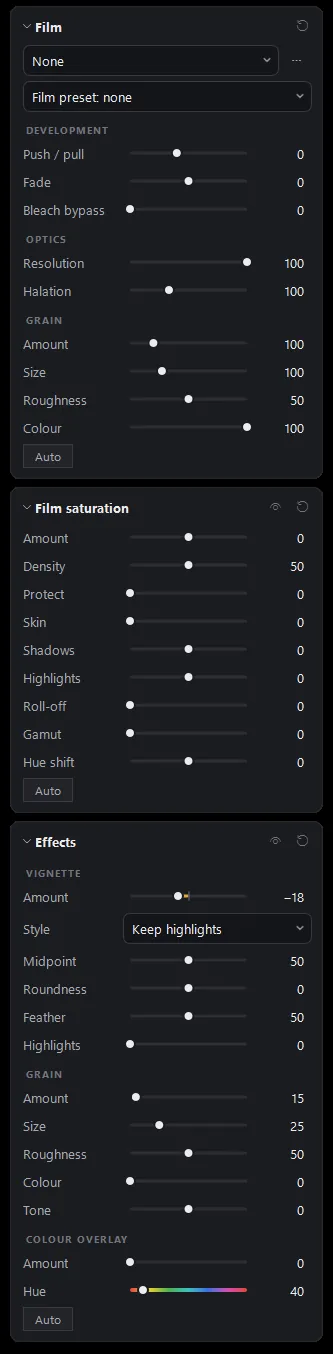
Then the controls a darkroom would have: push and pull, fade, bleach bypass, resolution, halation (the glow around bright lights), real grain and film's own way of handling saturation. Make your own stock and share it as a single .pinfilm file.
Film that behaves like film: push it, pull it, bleach it.
★ Auto that reads your photo
Every group, from white balance and light to colour, presence and detail, has its own Auto, worked out from the photo's own numbers: its brightness, contrast and noise. Nothing is learned from other people's photos and nothing is downloaded. Sync can run Auto on each photo of a set, so a whole shoot starts balanced.
★ Camera Match
A RAW file can open looking flat. Camera Match fits the RAW to the JPEG preview your camera made, so you start from the picture you saw on the back of the camera, with all the RAW data still there to work with.
★ Colour you can trust, screen to print
- The engine works in high-precision, wide-gamut linear colour, so strong edits stay smooth.
- Tone changes are edge-aware: lifting shadows leaves no halos around a skyline.
- Soft proof (Shift+S) with a gamut warning for colours the print can't reach.
- Camera profiles built from a colour chart, with an accuracy report.
★ Quick, even on big files
The Editor works on screen-sized copies while you edit and re-renders only the part of the edit that changed, so sliders stay live. The full-resolution file is used for 100 %, export and print. New users get a 20-second tour on their own photo.
★ Compare · key \
Compare against anything
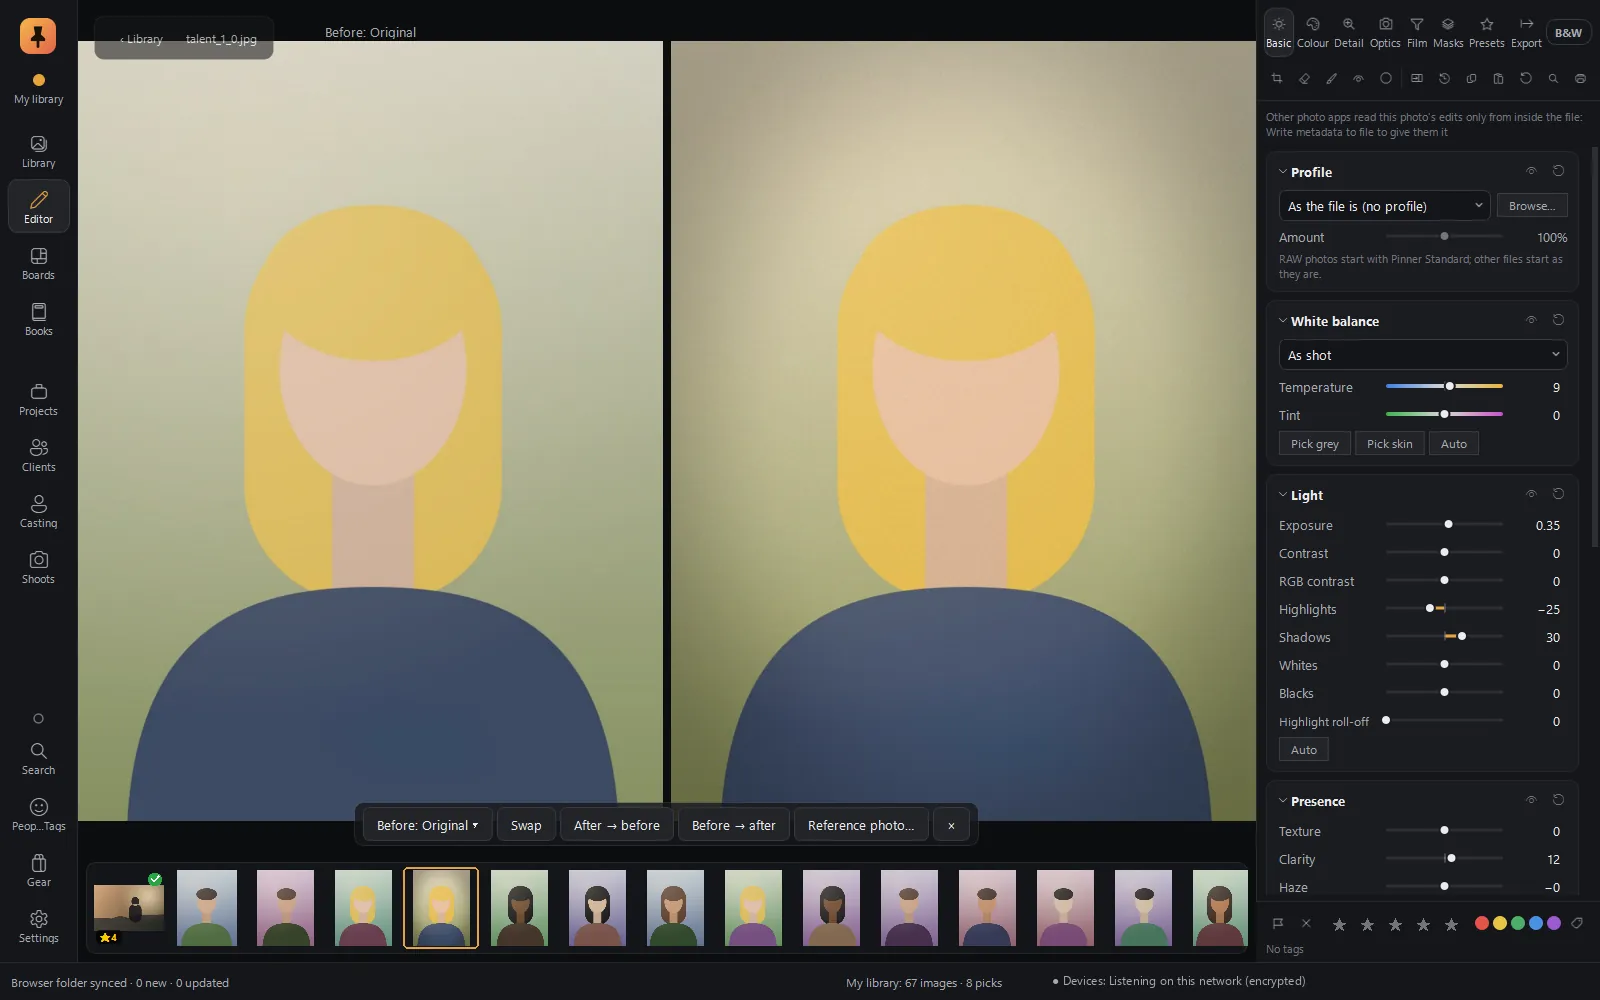
Before doesn't have to mean the untouched original. Compare side by side or as a split against the original, any named moment, any version, or a reference photo from your library (Shift+R), such as the client's mood-board picture or the hero shot you're matching a set to.
★ Scopes · Shift+H, G, K
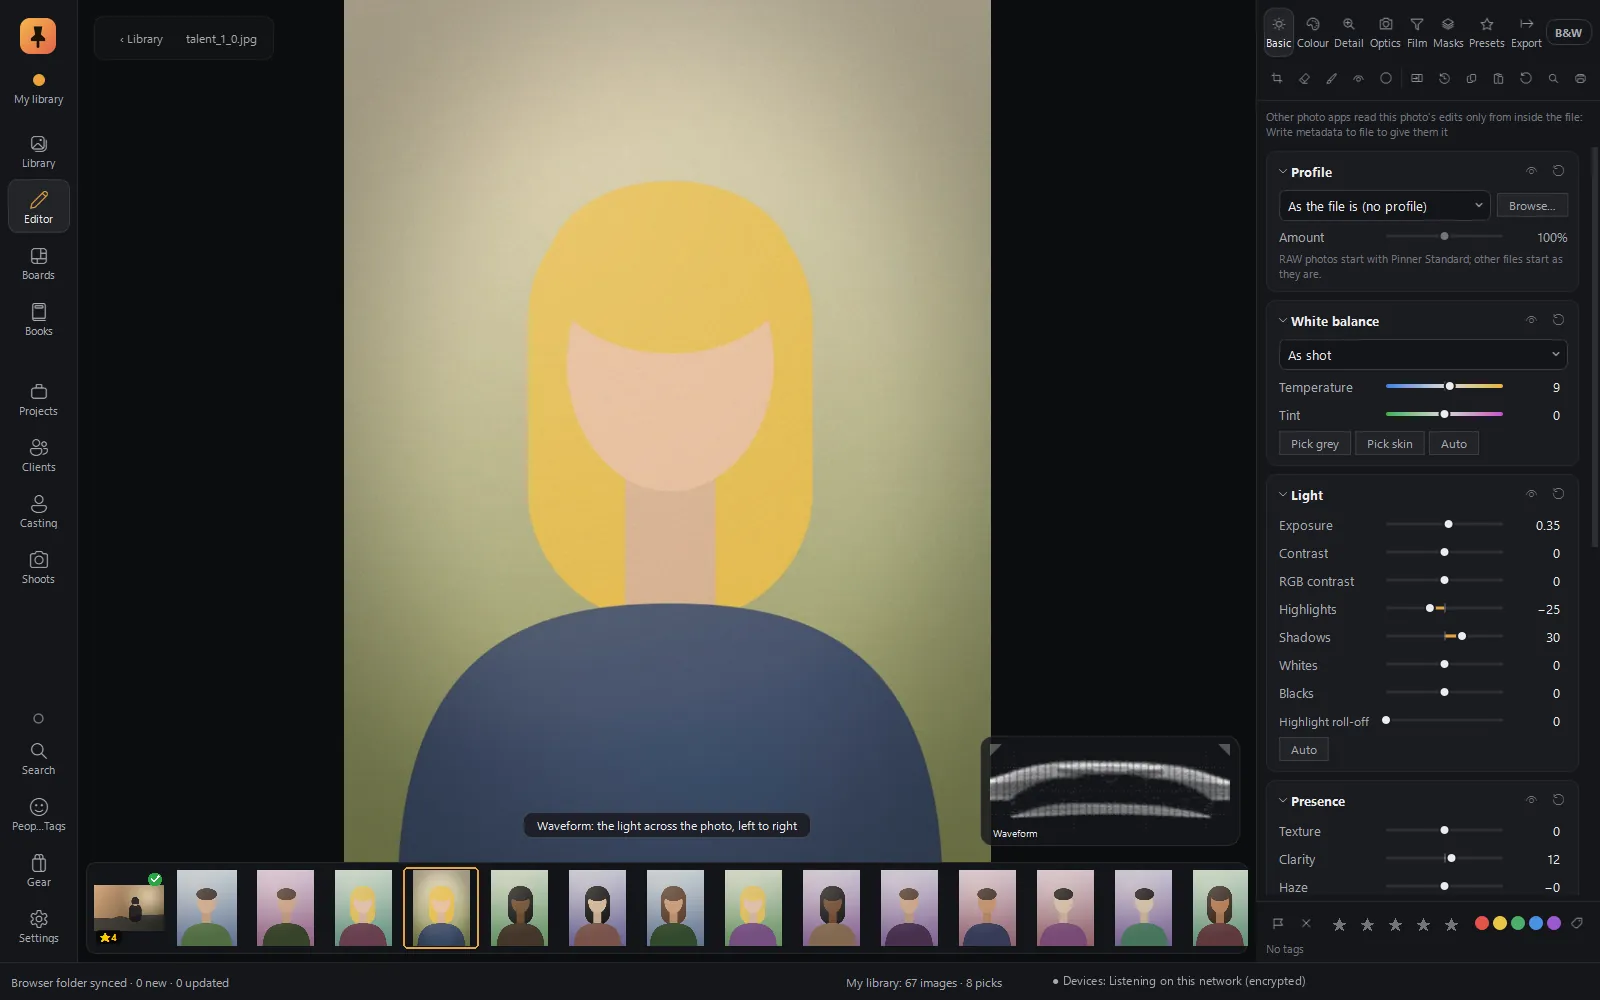
The histogram is a control
Drag the histogram itself: the middle for exposure, the ends for blacks and whites, the shoulders for shadows and highlights, or squeeze it for contrast. Shift+H cycles histogram, waveform and RGB parade; G opens a colour field (vectorscope) and K the photo's palette.
★ Recipes · Shift+D
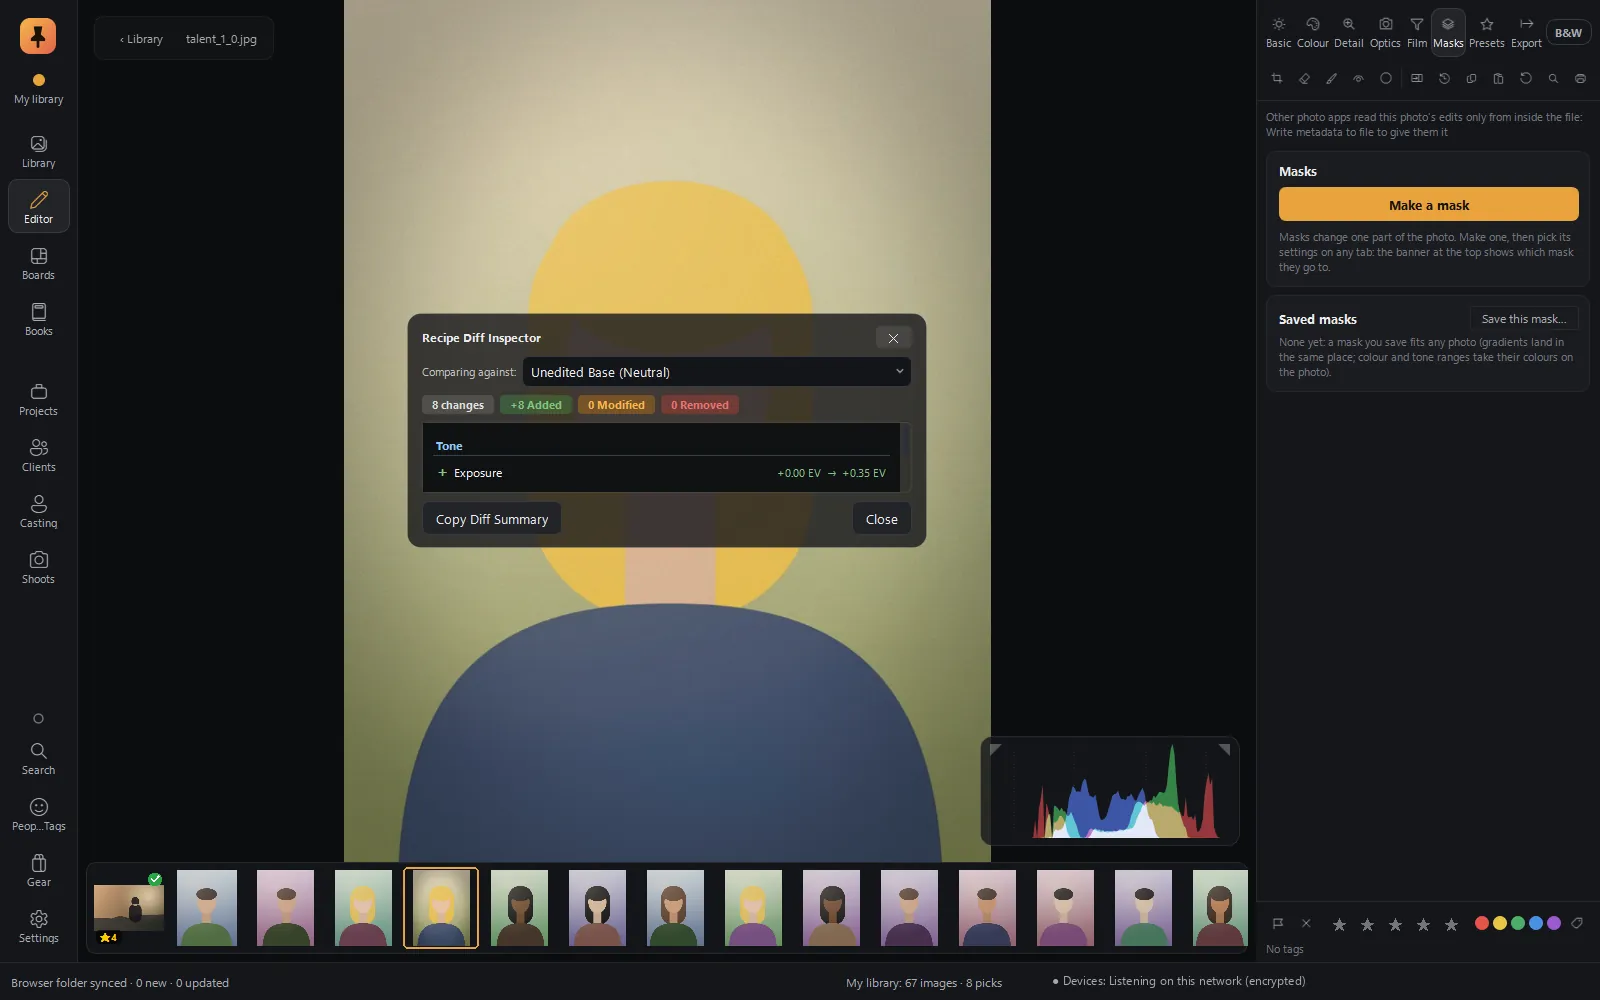
Edits that are small, readable and portable
An edit is stored as a short recipe, not a new image. That means:
- The original file is never written to, by the Editor or by any export.
- Shift+D shows exactly what differs between two edits, setting by setting.
- Edits are also written to industry-standard XMP sidecars that other major photo editors can read, and Pinner reads XMP edits and presets made elsewhere, so you can bring your work in, and take it with you.
- Looks travel as small
.precfiles.
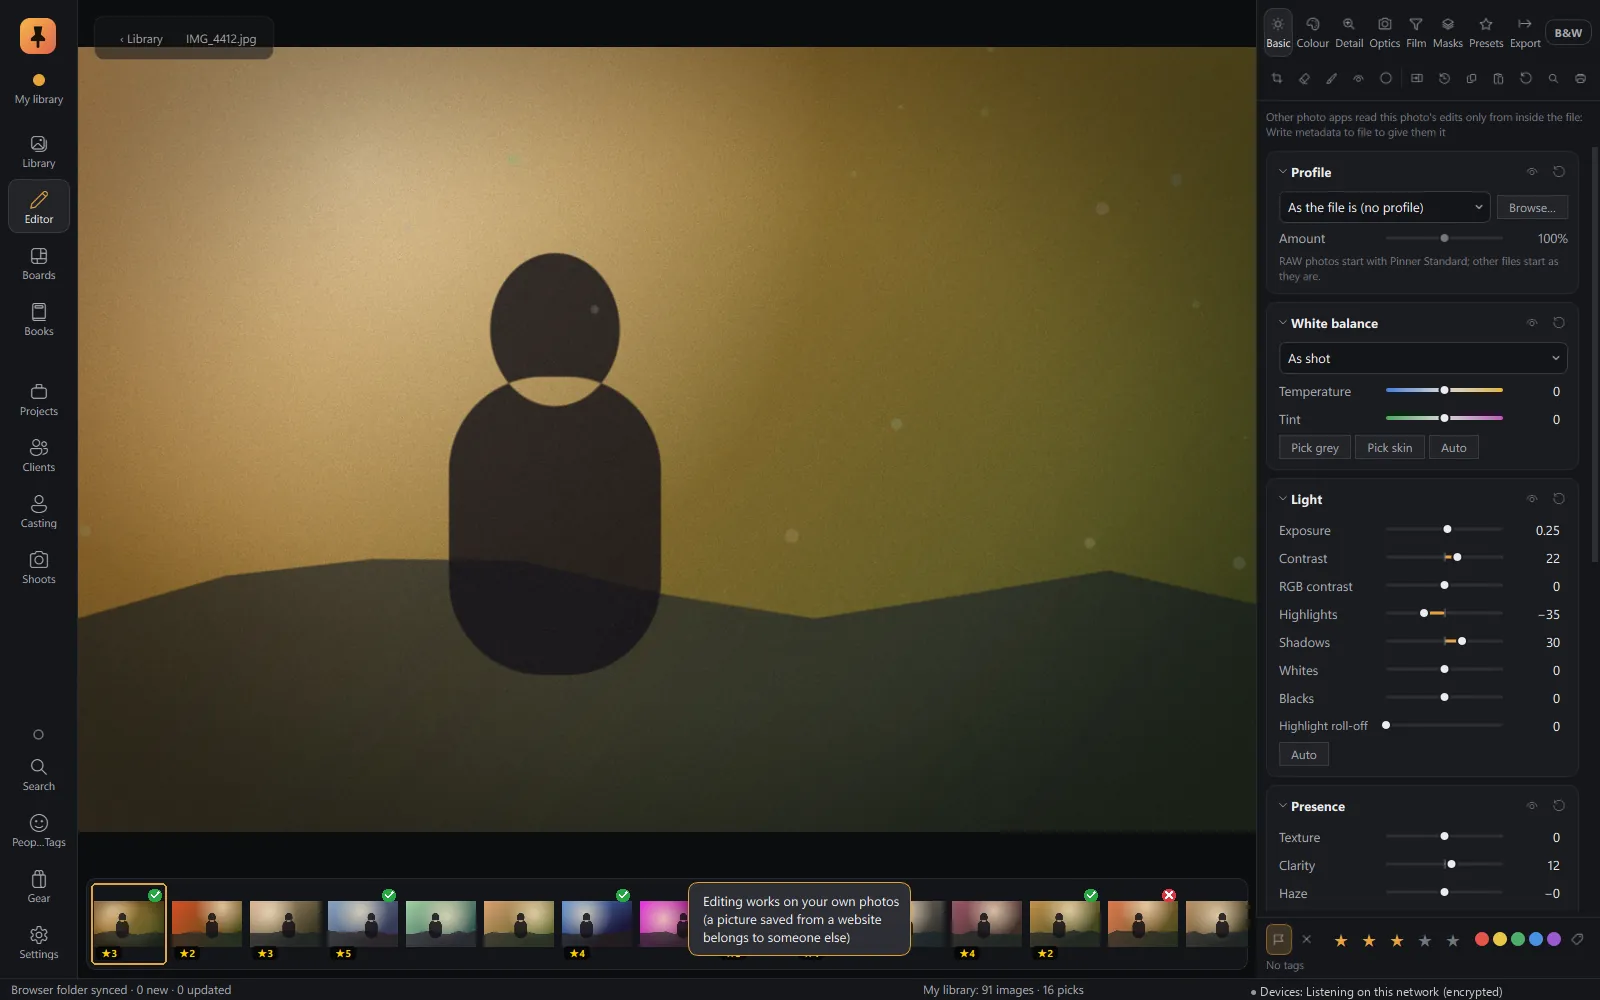
★ Credit stays attached
Your edits go on your own photos
The Library holds web references beside your own work. The Editor will not edit a web ref: it can be studied, measured and compared against, never passed off as yours.
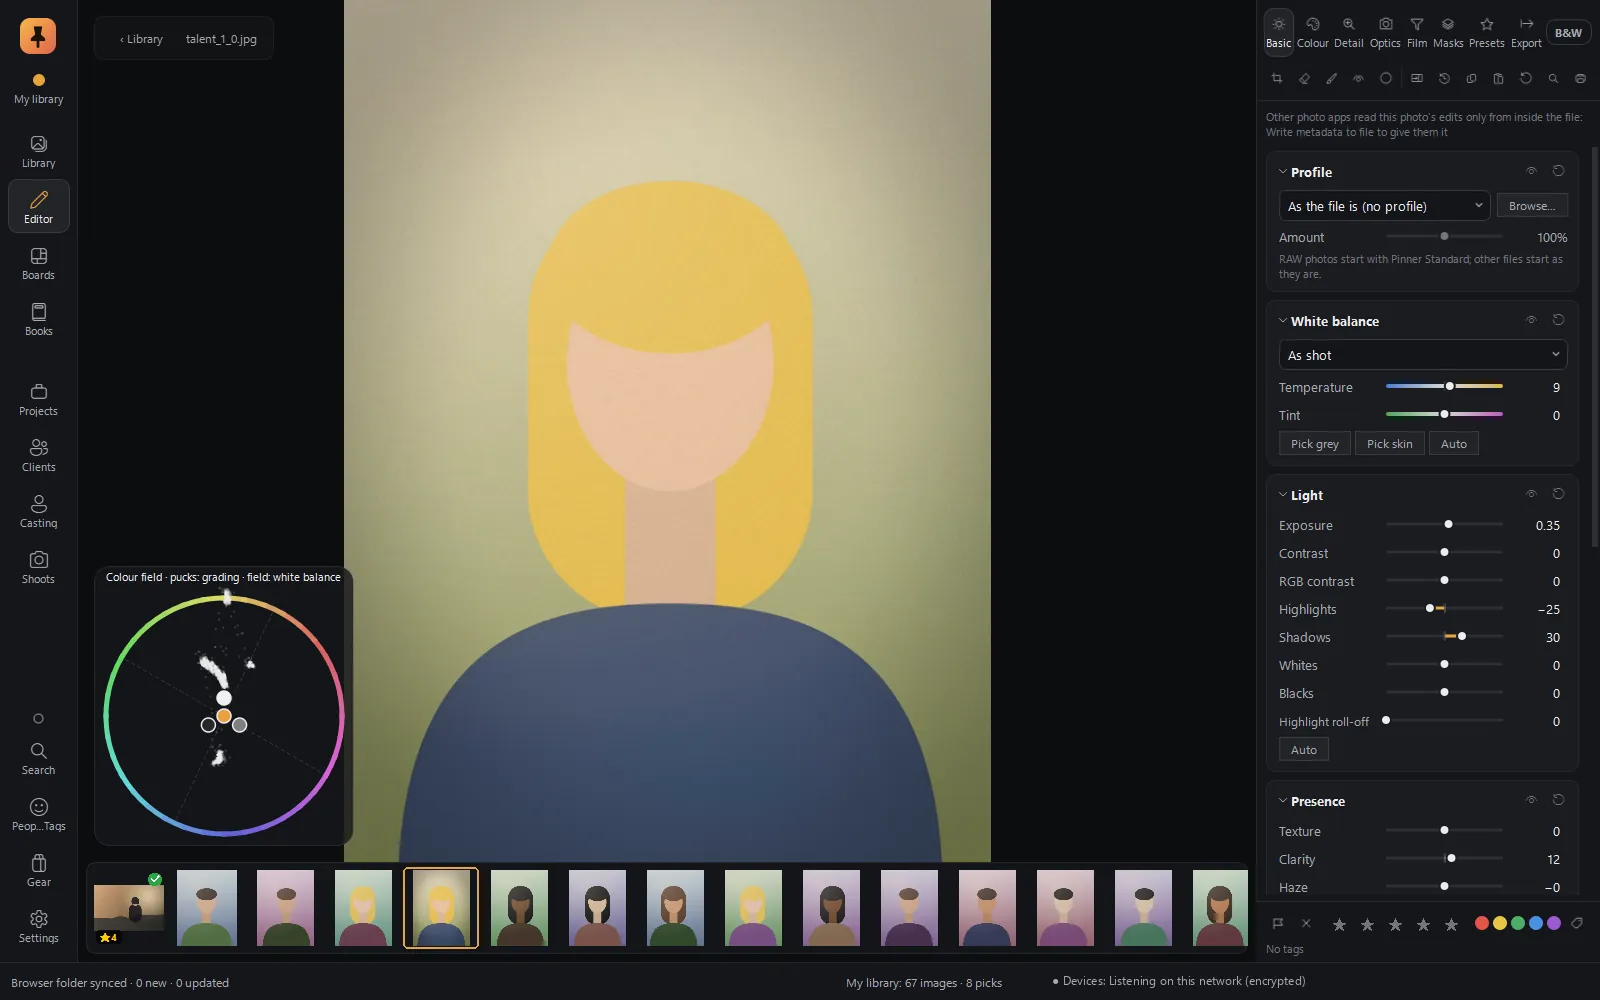
Colour field
A vectorscope for skin tones and colour casts (G).
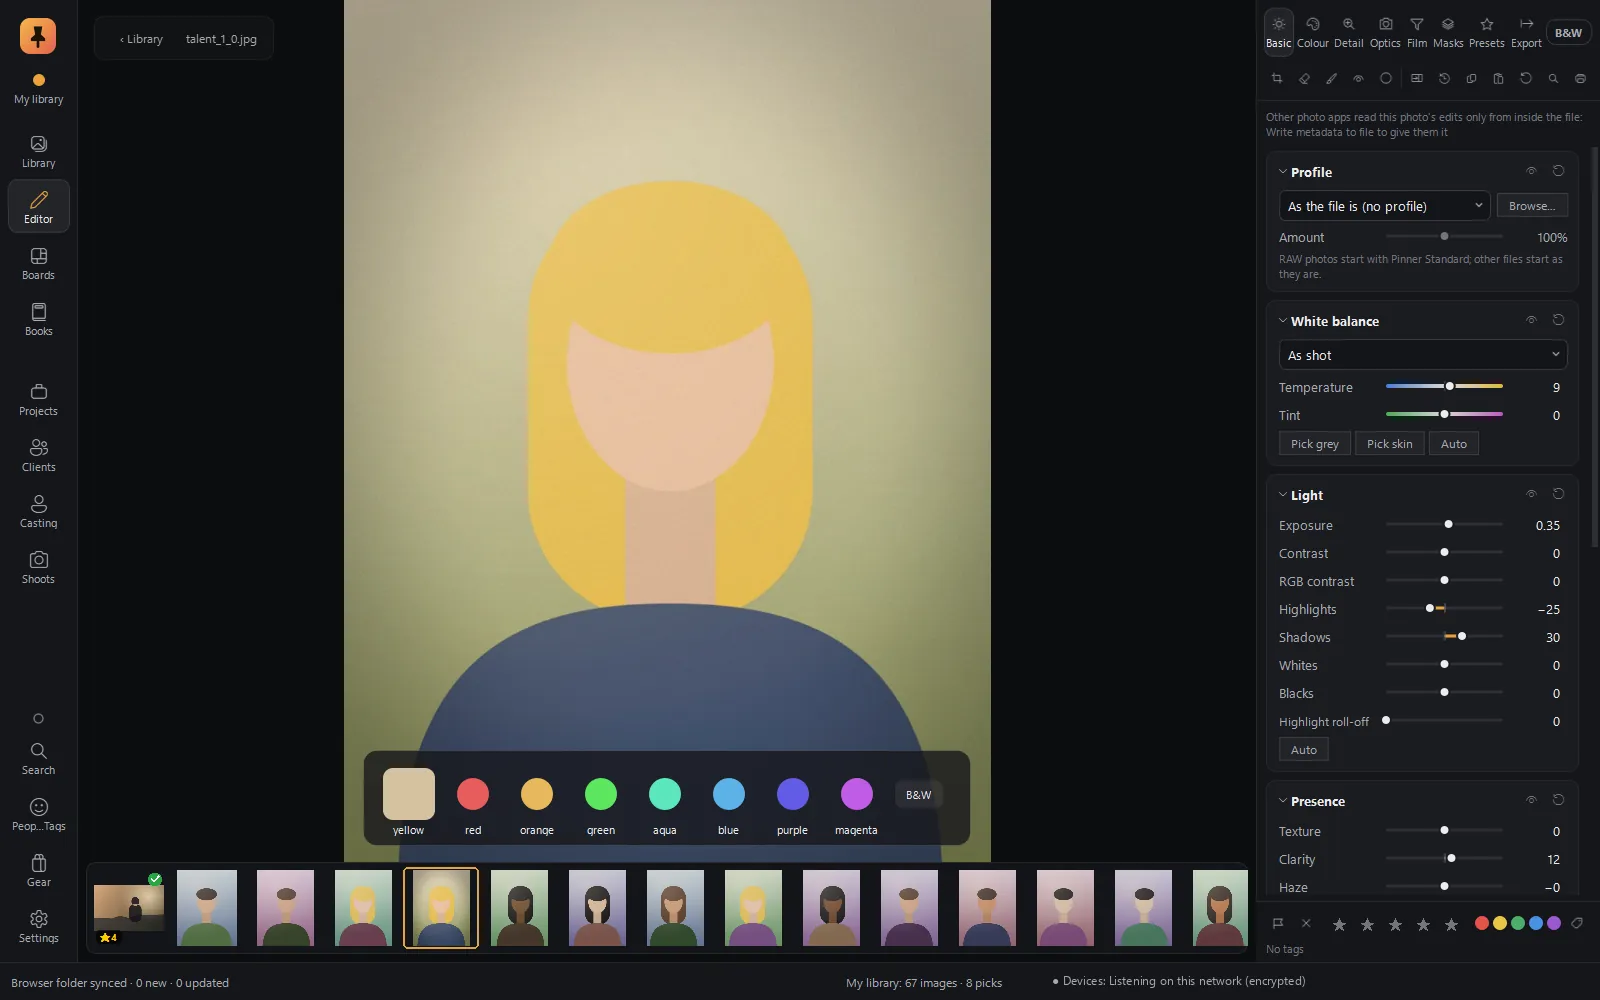
Palette
The photo's main colours at a glance (K).
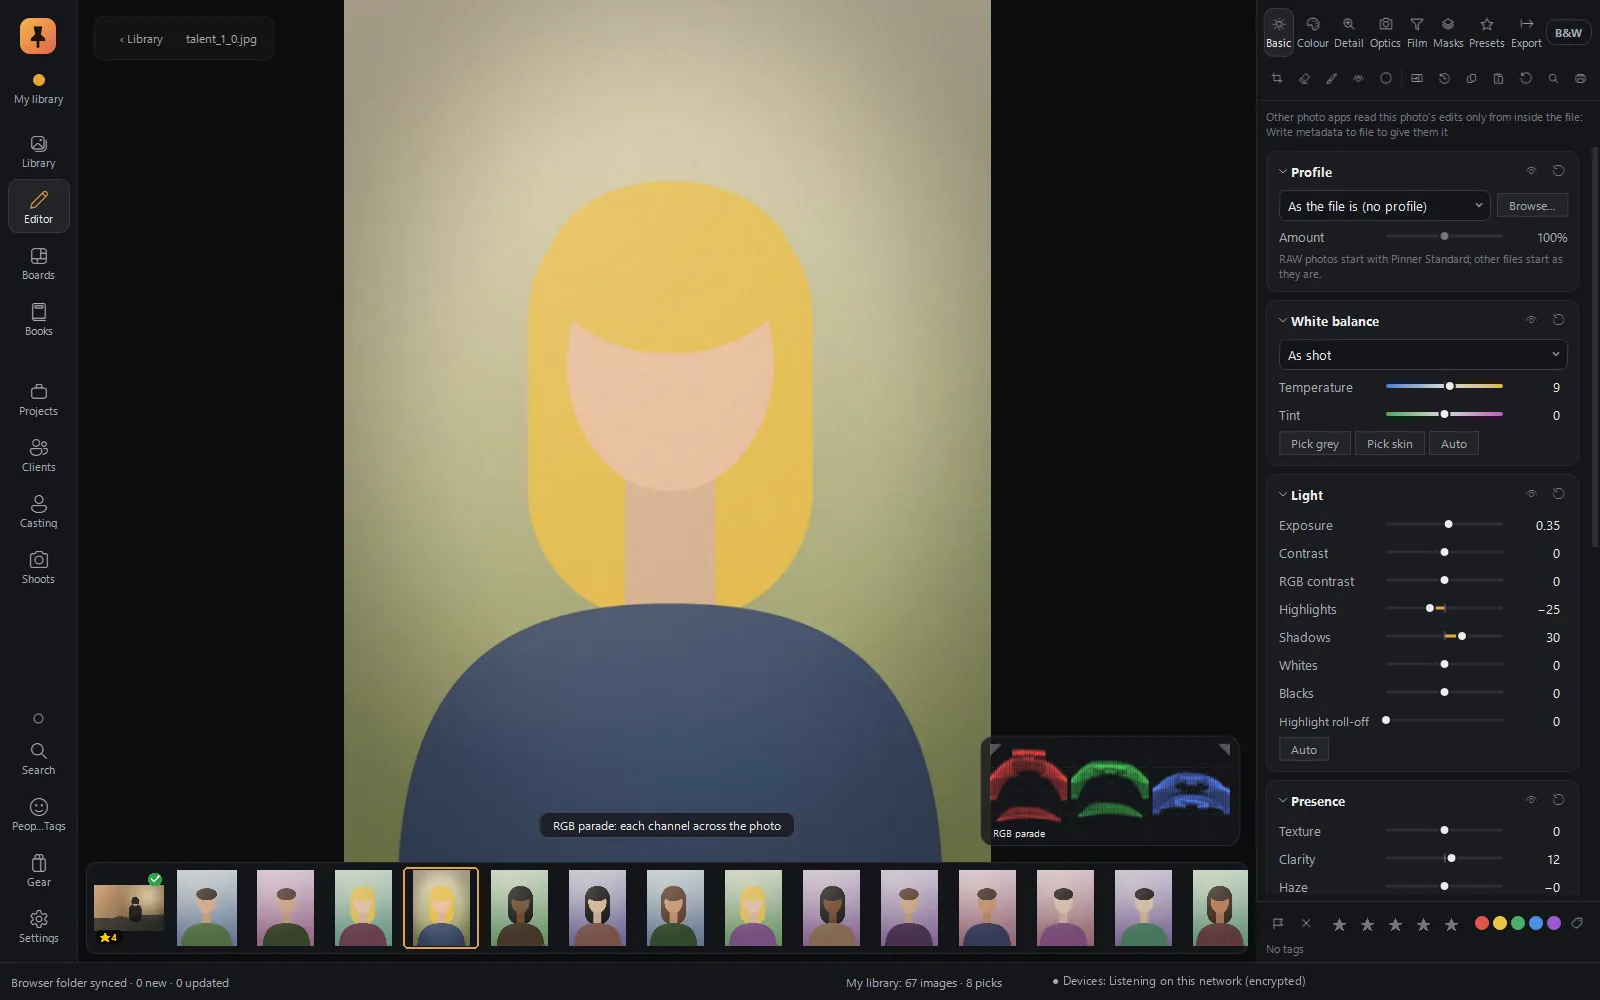
RGB parade
Red, green and blue, side by side, for neutral whites.
The screen
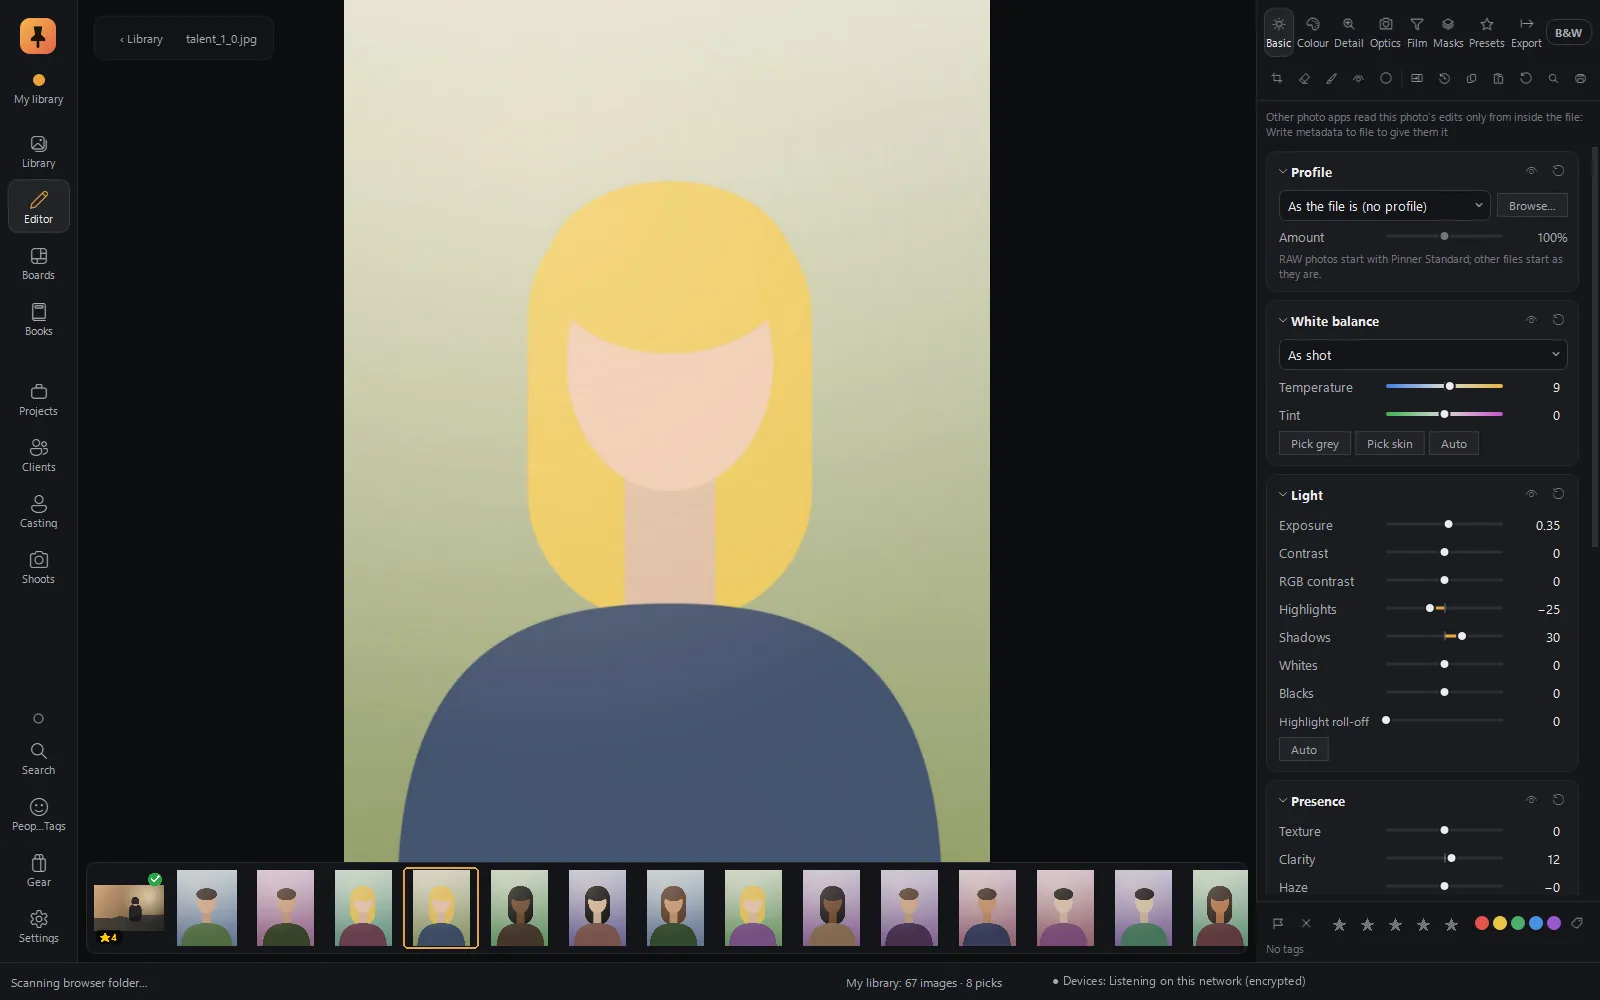
The Editor at a glance
- Photo
- In the centre, with the tool in use drawn on it. Z zooms to 100 %.
- Filmstrip
- The photos in the current view, along the bottom. Flag, rate and label right there.
- Tool bar
- Crop, Heal, Masks, Eyes and Vignette, at the top of the panel.
- Panel tabs
- Basic, Colour, Detail, Optics, Film, Masks, Presets and Export, plus a B&W switch.
- Action bar
- Compare, history, copy and paste edits, reset, the command bar and soft proof.
- Stack, history, scopes
- Floating panels that open over the photo when you want them.
Panel by panel
Every tab, every control
For anyone who wants proof that nothing is missing. Film is covered above.
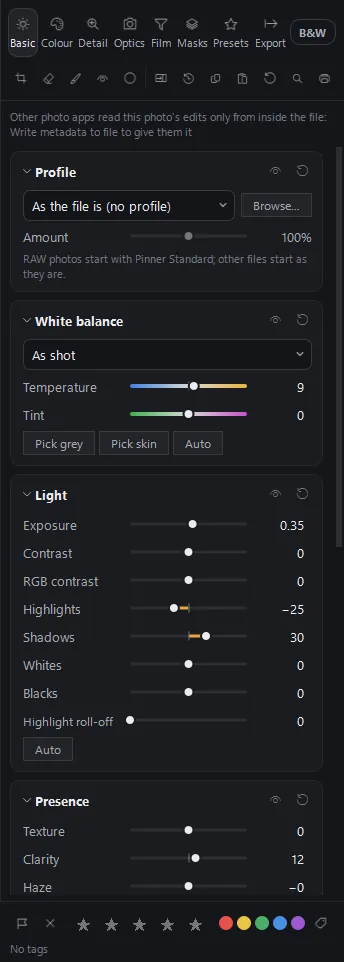
Basic
| Group | Controls |
|---|---|
| Profile | The starting look for the RAW, Camera Match included. Shift+P shows every profile as a thumbnail of this photo. |
| White balance | Temperature and tint, pick a grey (W), pick skin (Shift+W) so skin tones come out right, and Auto. |
| Light | Exposure, contrast, highlights, shadows, whites, blacks, RGB contrast and highlight roll-off, how gently the brightest parts fade to white. |
| Presence | Texture, clarity, dehaze, vibrance and saturation. |
| Curve | Tone curve, plus targeted colour: click a colour in the photo and drag to change it. |
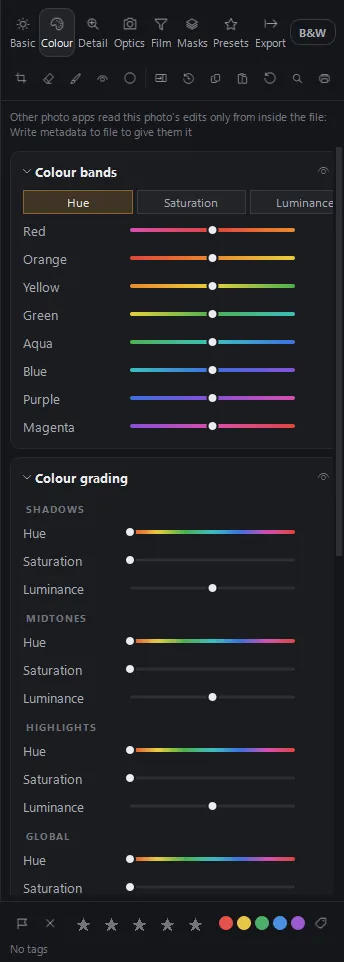
Colour
| Group | Controls |
|---|---|
| Colour bands | Hue, saturation and luminance for eight colour bands, or a B&W mix in black and white. |
| Colour grading | Wheels for shadows, midtones, highlights and the whole picture, with blending and balance. |
| Lens filter | Warms, cools or tints the picture the way a glass filter would. |
| Calibration | Fine shifts to the camera's red, green and blue primaries, for a house look. |
Detail
| Group | Controls |
|---|---|
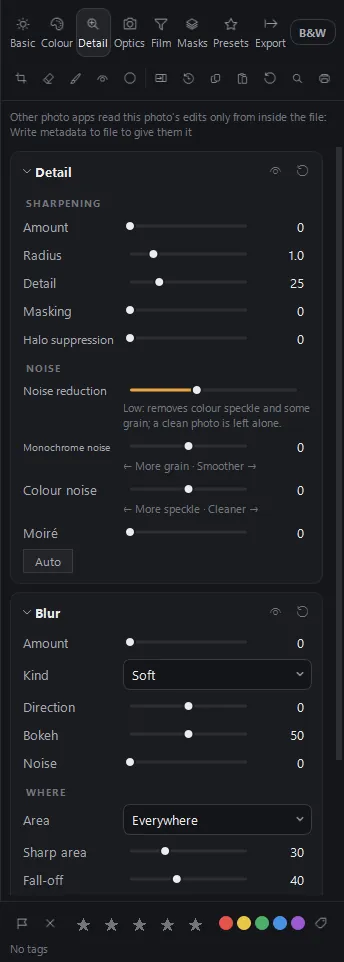
| Sharpening | Amount, radius, detail, masking (sharpen edges, not skies) and halo suppression. |
| Noise | One level, from Off to Max, set to match the photo's own measured noise, with fine-tunes for colour noise and moiré. |
| RAW develop | Five demosaic methods, false-colour removal, colour fringe correction before demosaic, and green balance. |
| Blur | Soft, lens blur (bokeh), motion, zoom and spin, across a tilt-shift band or a round area. |
A 100 % loupe appears by itself while you adjust anything you need to see at full size.
Optics
| Group | Controls |
|---|---|
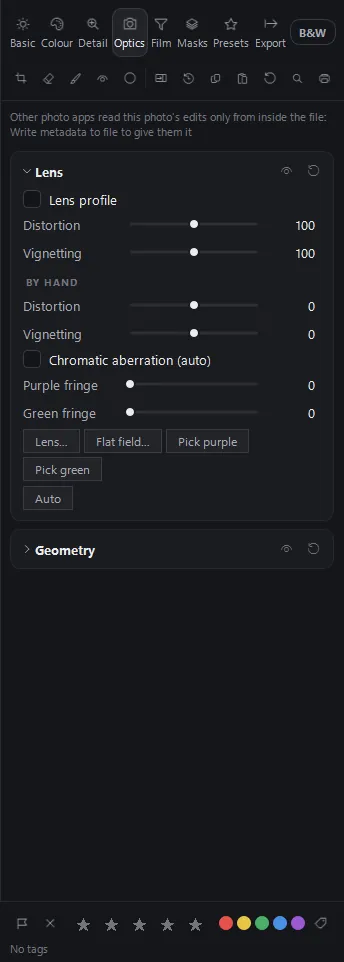
| Lens | Lens profiles that correct distortion, vignetting and colour fringes, flat-field correction, and purple and green fringe pickers. |
| Geometry | Auto level, auto vertical and full auto perspective; guided correction, where you draw a line that should be level; manual sliders. |
Lens profiles come from a one-time database download that Pinner makes only after you agree. Masks follow crop and geometry, so straightening never knocks a mask out of place.
Masks
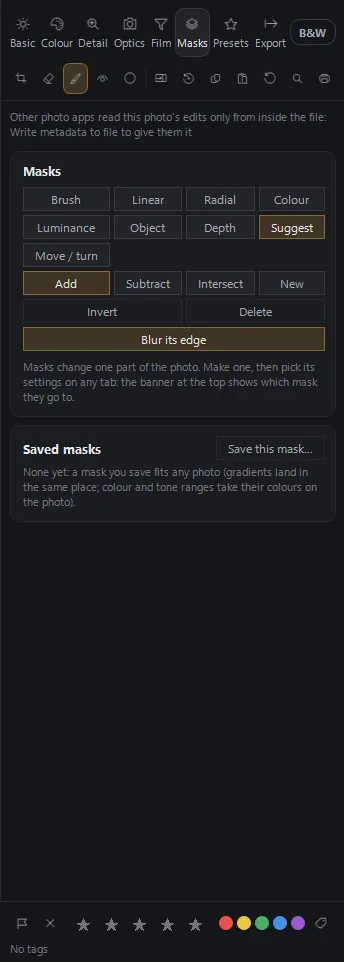
| Key | Mask | What it selects |
|---|---|---|
| 1 | Brush | What you paint, with two brushes, each with size, feather and flow. |
| 2 | Linear | A graduated band, such as a sky. |
| 3 | Radial | An oval, inside or out. |
| 4 | Colour | Everything near a colour you click. |
| 5 | Luminance | A range of brightness. |
| 6 | Object | An object you click or box, found on your computer by an optional model (about 44 MB, downloaded only when you agree). |
| 7 | Depth | Near or far, for photos that carry a depth map. |
Suggest shows what would be selected as you hover. Add, subtract or intersect masks, invert them, and blur a mask's edge; O shows it as a coloured veil. Each mask carries its own full set of adjustments and appears in the Stack as its own card.
Presets
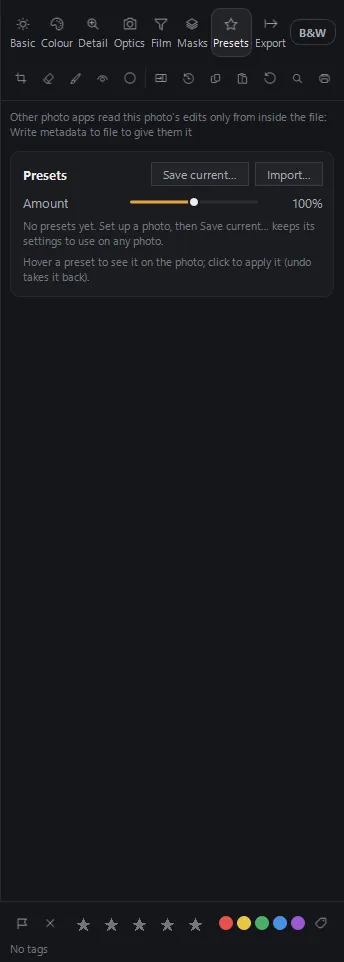
Hover a preset to see it on the photo, click to apply, then set its amount. Save current… turns your edit into a look (Ctrl+Shift+L); Import… reads .prec looks and XMP develop presets.
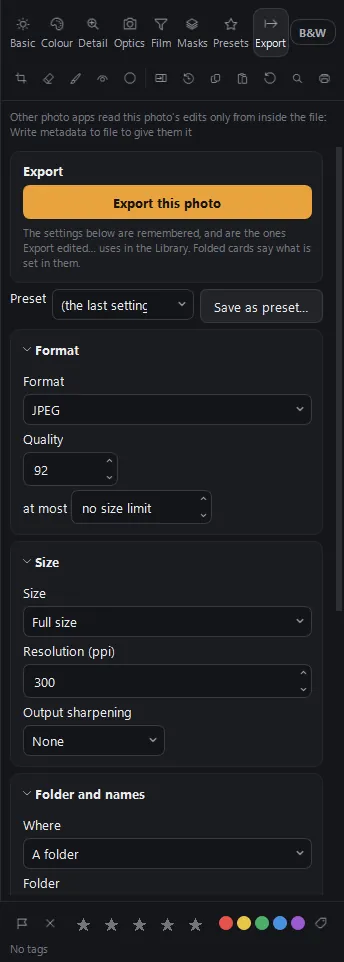
Export
| Setting | Choices |
|---|---|
| Format | JPEG (by quality or to a file-size limit), TIFF and PNG in 8 or 16 bit, AVIF, JPEG XL, Ultra HDR with a gain map for bright screens, or the original with an XMP sidecar. |
| Size | Full size, or by long edge, width, height or megapixels; ppi for print. |
| Output sharpening | For screen, matte paper or glossy paper. |
| Colour space | sRGB, Display P3, an Adobe RGB–compatible space, Rec.2020 or any ICC profile, with rendering intent and black-point compensation. |
| Metadata, naming, watermark | From everything down to copyright only; a naming template; a text or PNG logo watermark, placed and faded as you choose. |
| Afterwards | Bring the export back into the library, an album, a shoot or a book. |
Ctrl+E opens export; Ctrl+Alt+Shift+E exports again with the same settings.
On the picture
Tools and viewing aids on the photo
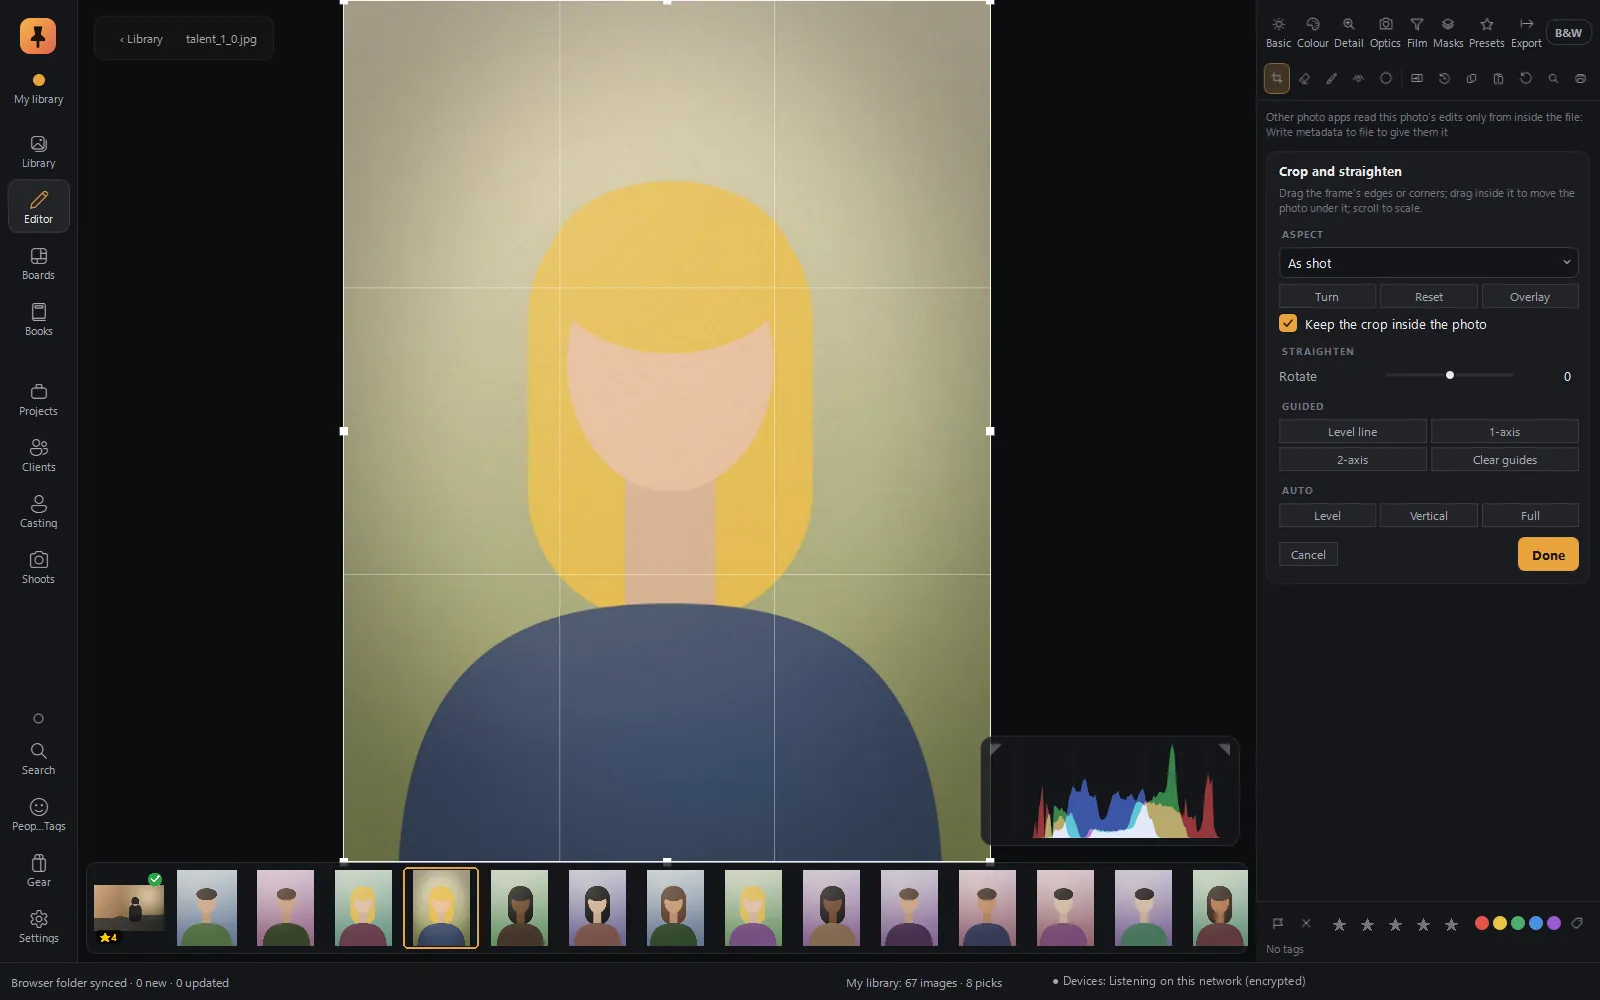
Crop and straighten · T
Crop to a set ratio or freely and straighten, with composition overlays: spiral, triangles, diagonals.
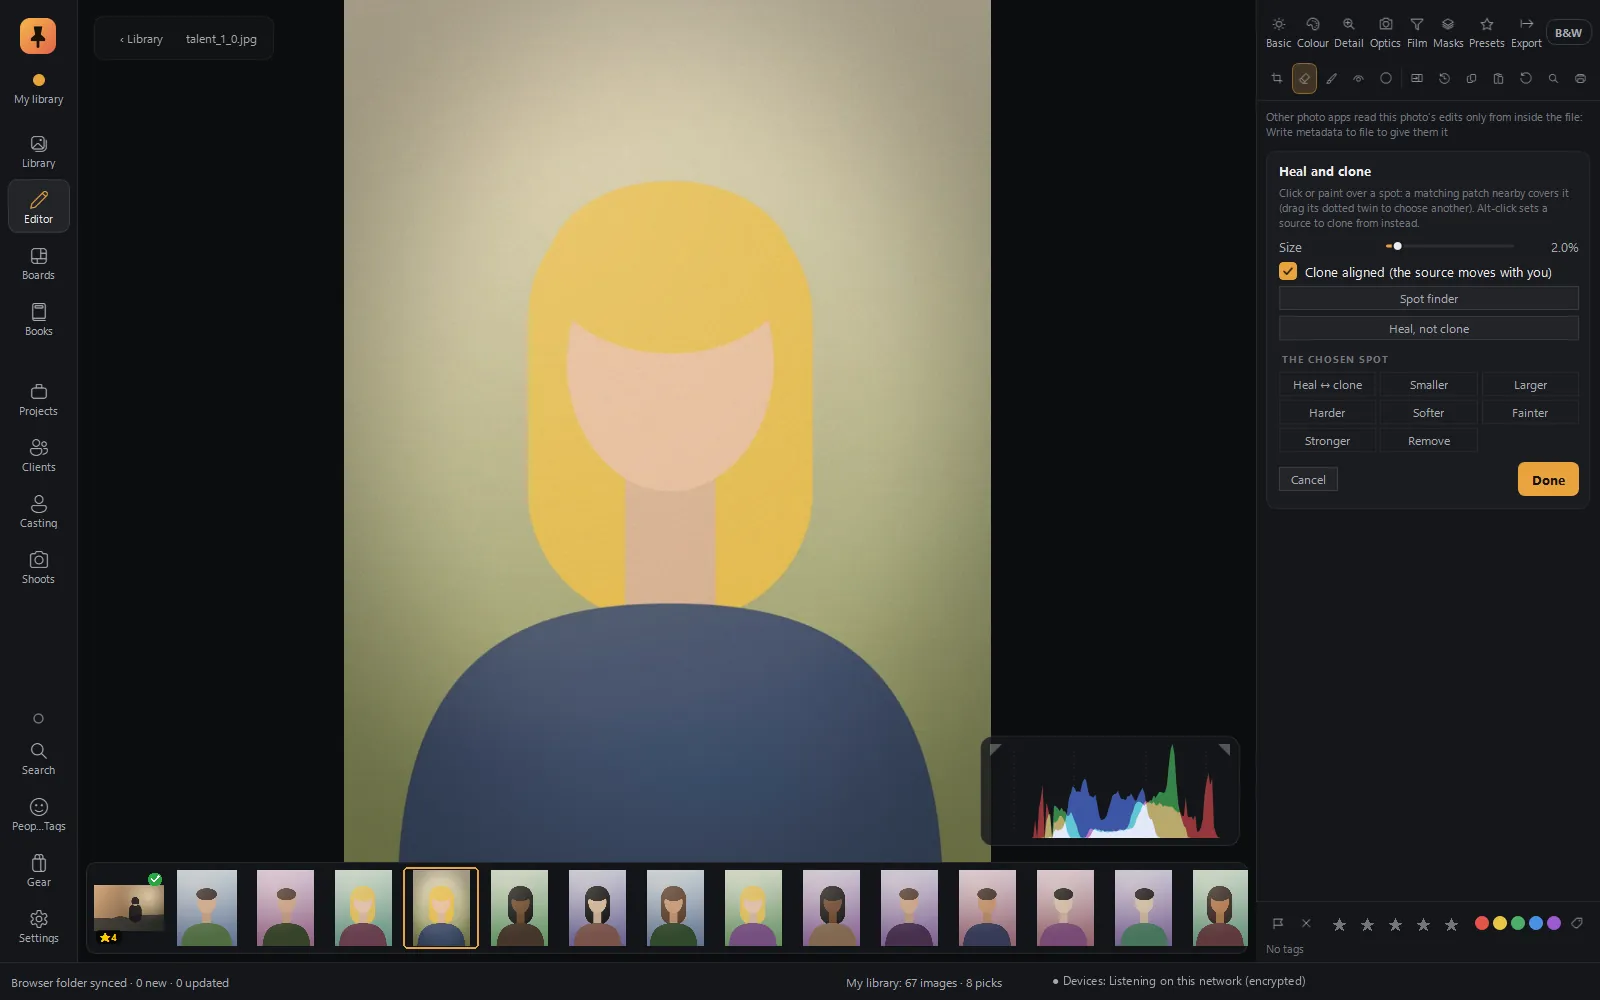
Heal · Q
Click or paint to remove spots, dust and distractions. Shift+Q shows a spot finder that makes dust easy to see.
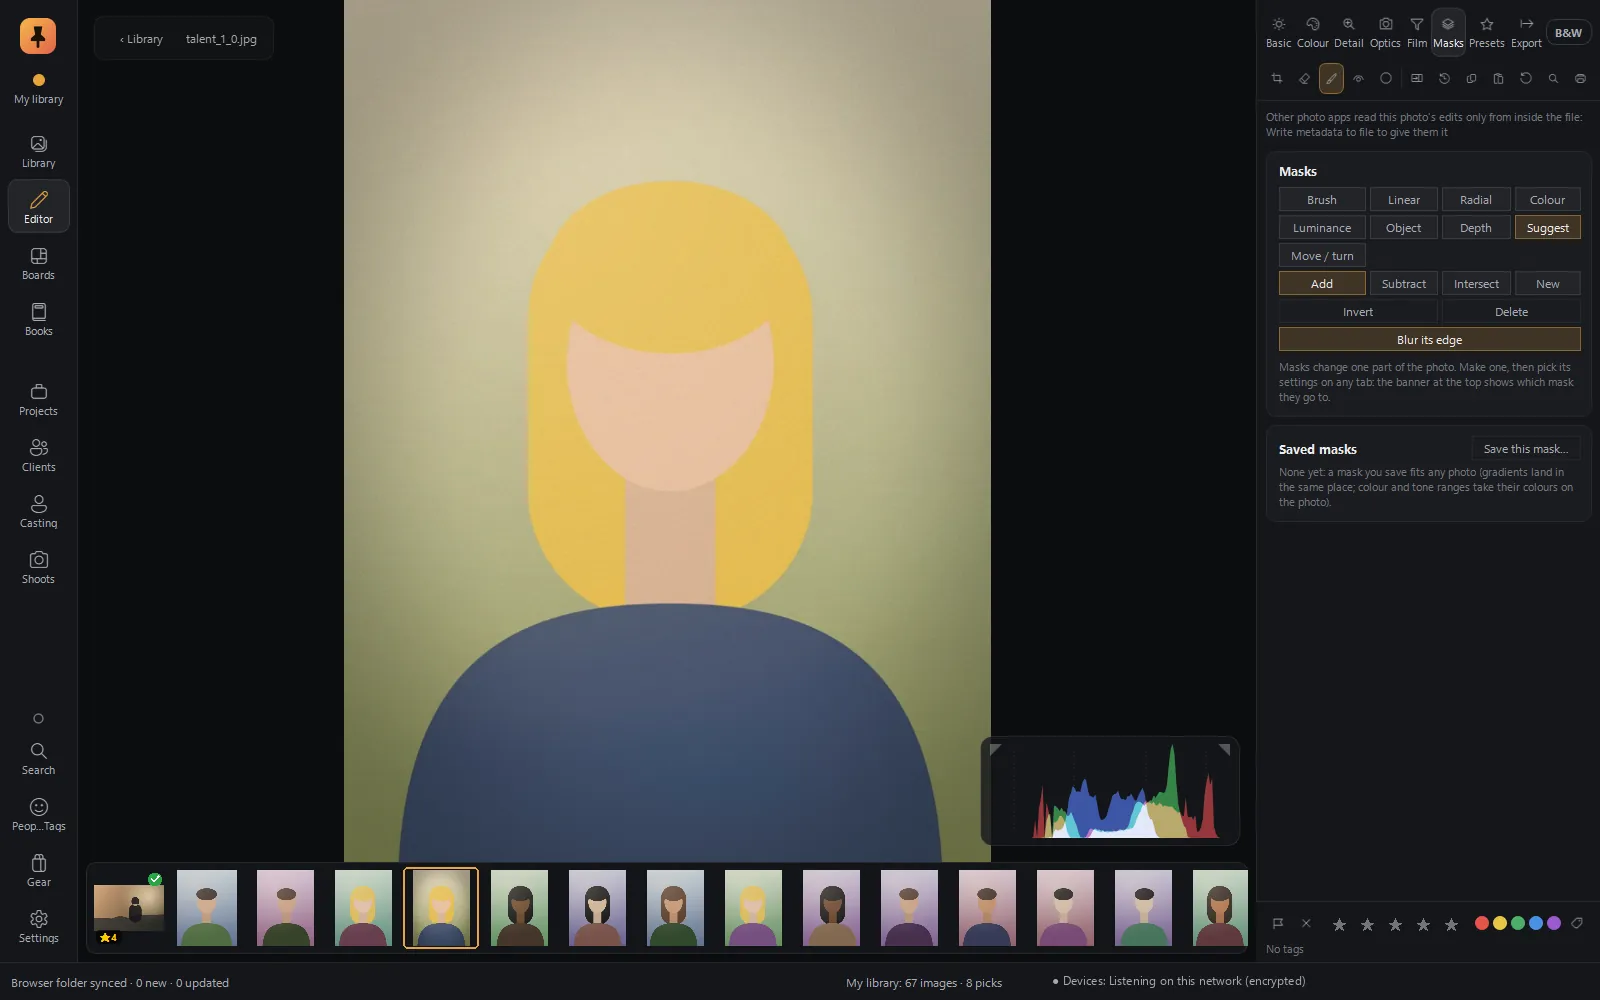
Masks on the photo
Draw, move and turn masks right on the picture.
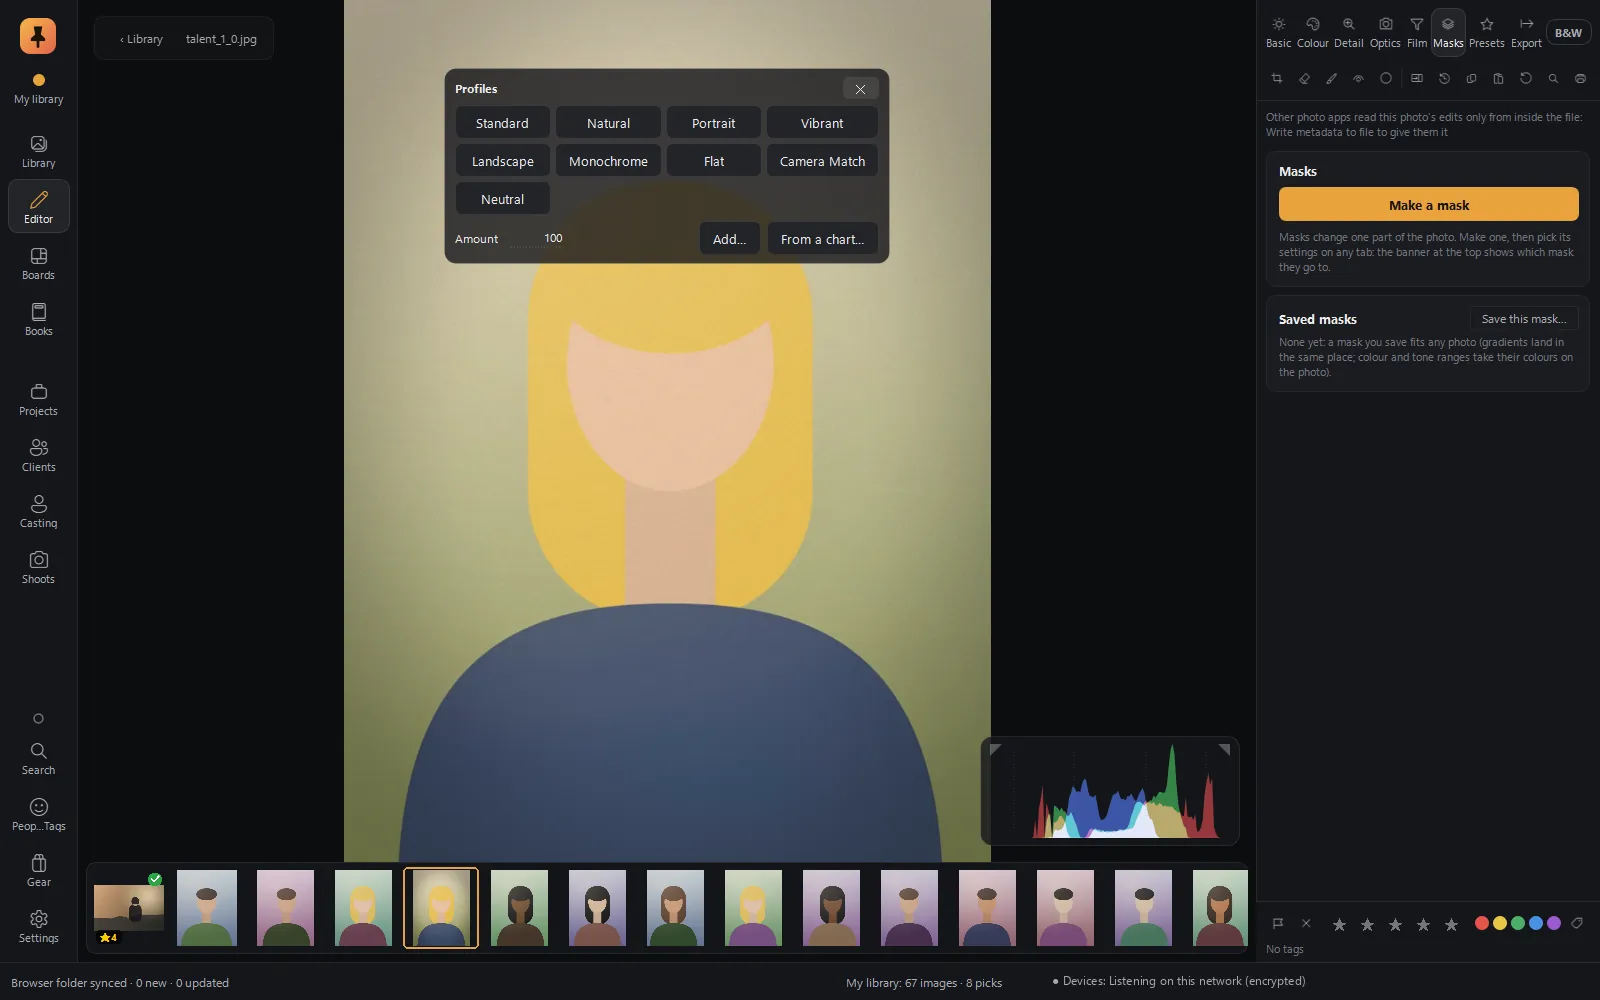
Profile strip · Shift+P
Every profile as a thumbnail of the photo you're editing.
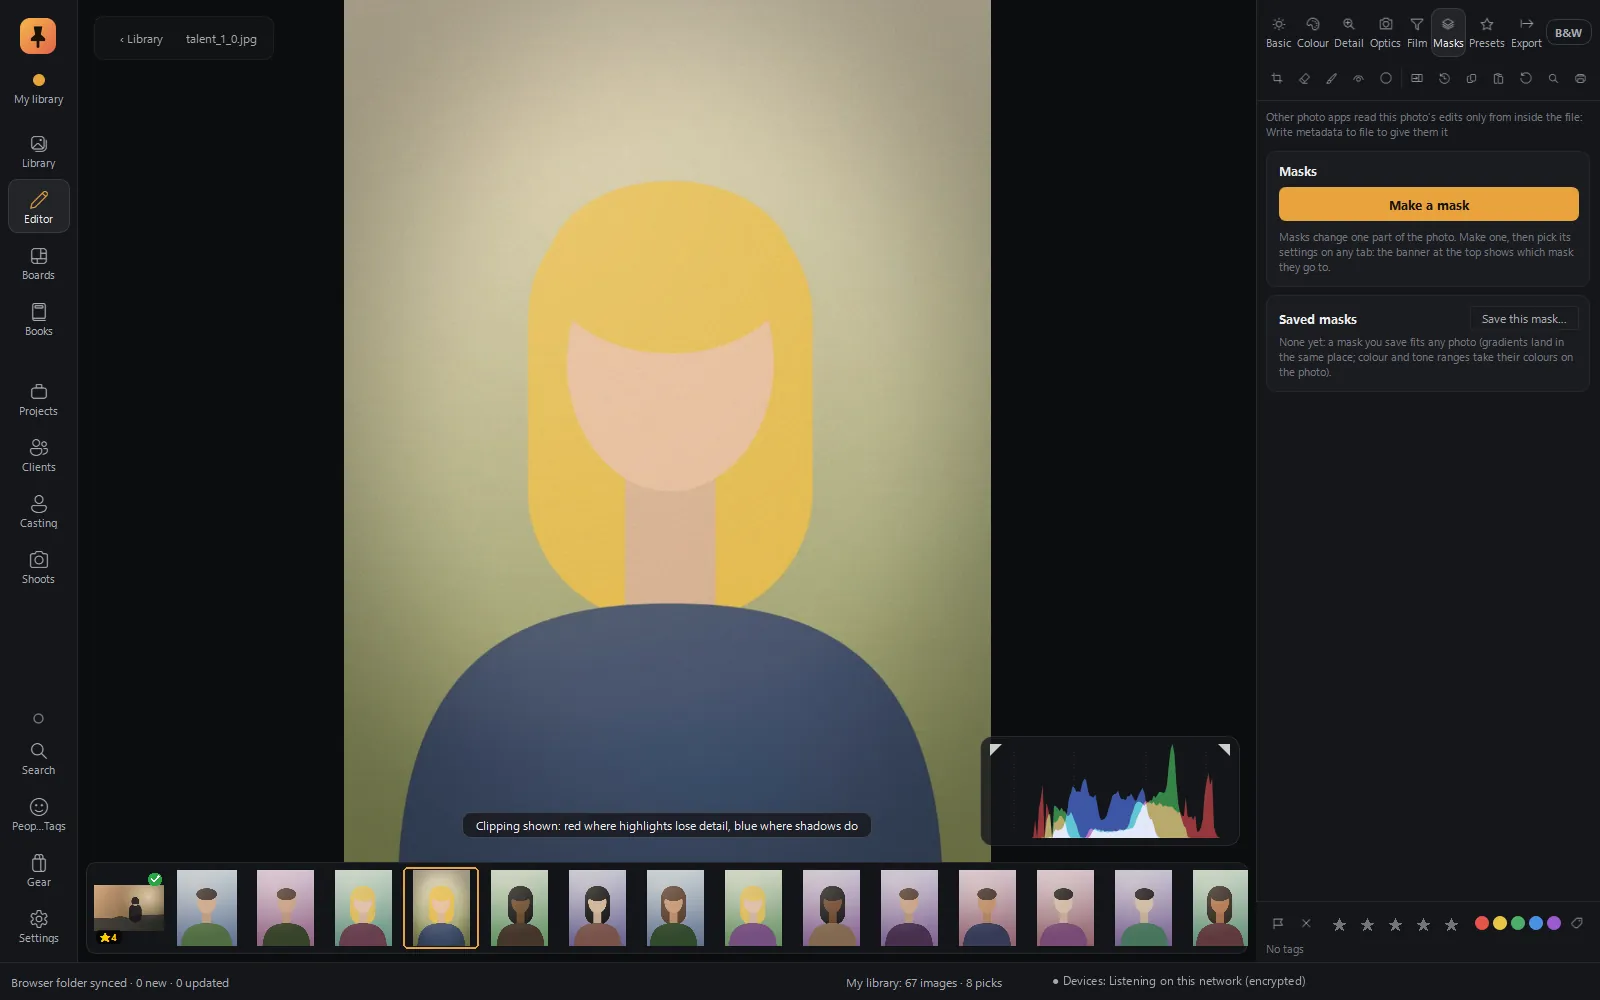
Clipping warning · J
Pure white and pure black marked in colour.
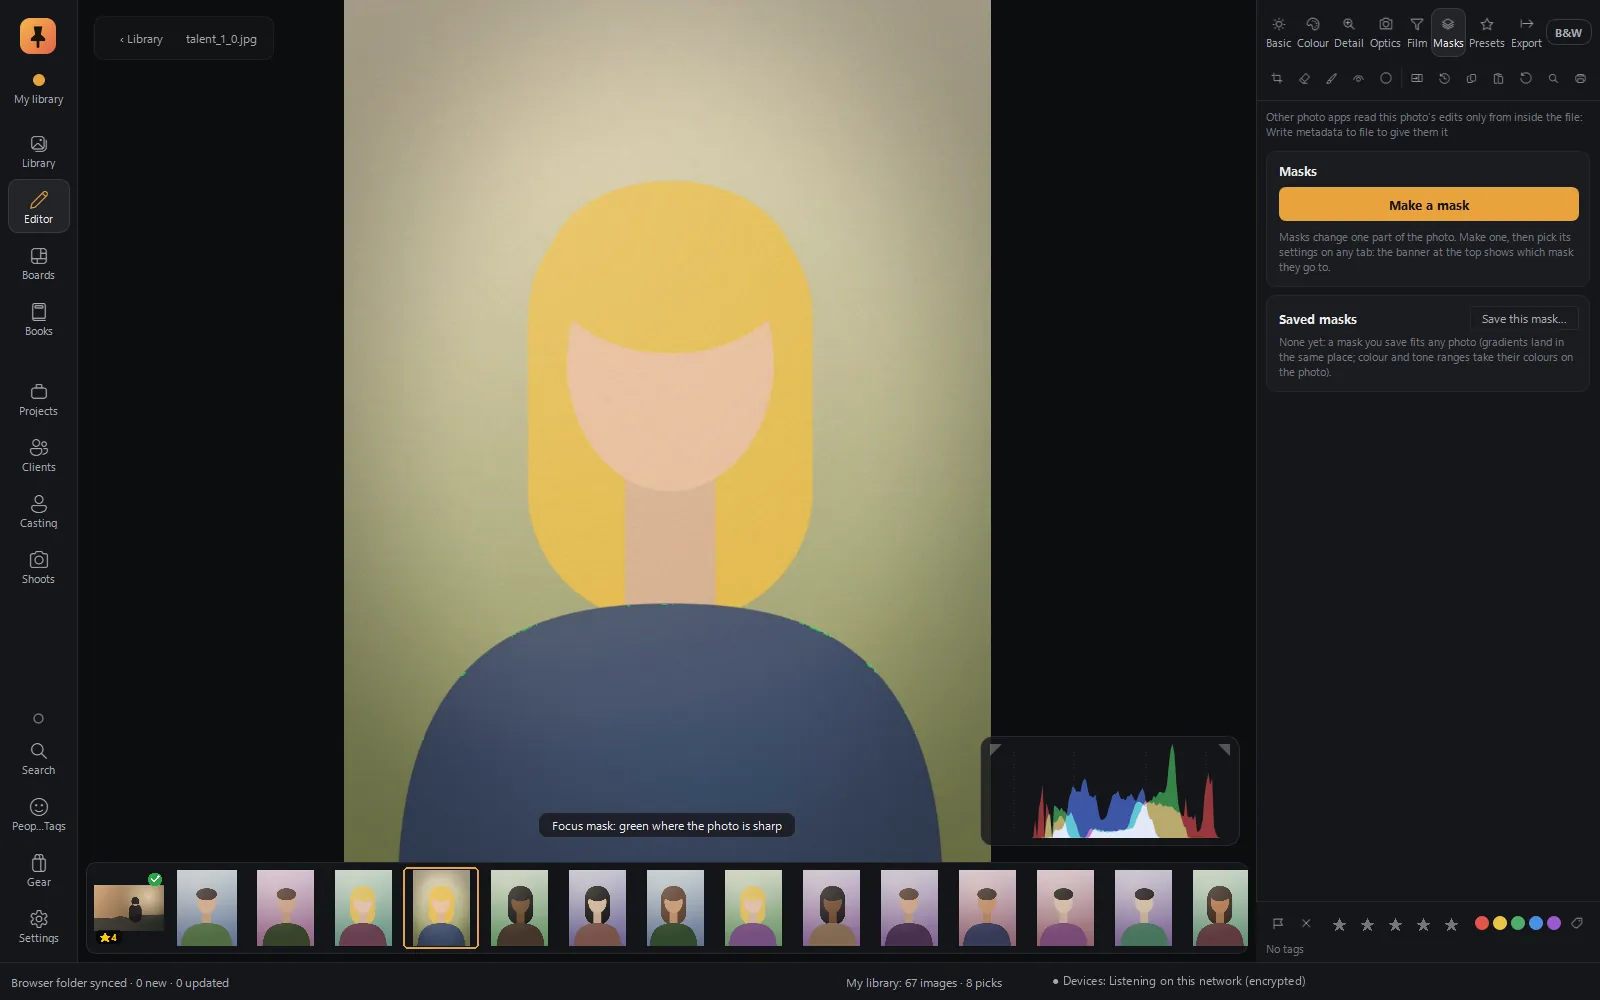
Focus mask · Shift+J
What's sharp, highlighted.
Also on the photo: Eyes (Shift+E) puts right red eye and pets' glowing eyes with a click, and Vignette (Shift+V) is drawn straight onto the picture.
Many photos at once
Working across a whole shoot
- Sync (Alt+S) copies chosen parts of an edit to the selection, with Auto on each photo for the groups that should fit each frame.
- Auto-sync (Alt+A): while it's on, every change goes to every selected photo.
- Same as previous (Alt+V) and match exposure (Alt+M) across a set.
- Copy and paste looks onto every selected photo, and versions of one photo.
- Merge: HDR, panorama and HDR panorama, with deghosting for anything that moved.
- Print: a single photo, a contact sheet or a picture package, with ICC colour management.
- Make available offline: editing-size copies, so photos on a drive that's away can still be edited.
- Make a book… straight from the selection.
Questions
Does the Pinner Studio Editor change my original files?
No. An edit is stored as a short recipe, and the original file is never written to, by the Editor or by any export.
Can other photo editors read my Pinner edits?
Yes. Edits are also written to industry-standard XMP sidecars that other major photo editors can read, and Pinner reads XMP edits and develop presets made elsewhere.
Does the command bar send what I type online?
No. The command bar understands a photographer's vocabulary on your own computer. No online service and no language model are involved.
Which formats can I export?
JPEG, TIFF and PNG in 8 or 16 bit, AVIF, JPEG XL and Ultra HDR, or the original with an XMP sidecar, in sRGB, Display P3, an Adobe RGB–compatible space, Rec.2020 or any ICC profile.
Does the Editor need a graphics card?
No. A graphics card is optional; the Editor uses one when it is there. Pinner Studio runs on Windows 10 and 11, 64-bit.
Can I edit a picture I saved from the web?
No. A web ref belongs to someone else, so the Editor will only let you study it, measure it and compare against it. Your edits only ever go on your own photos.
Keep exploring
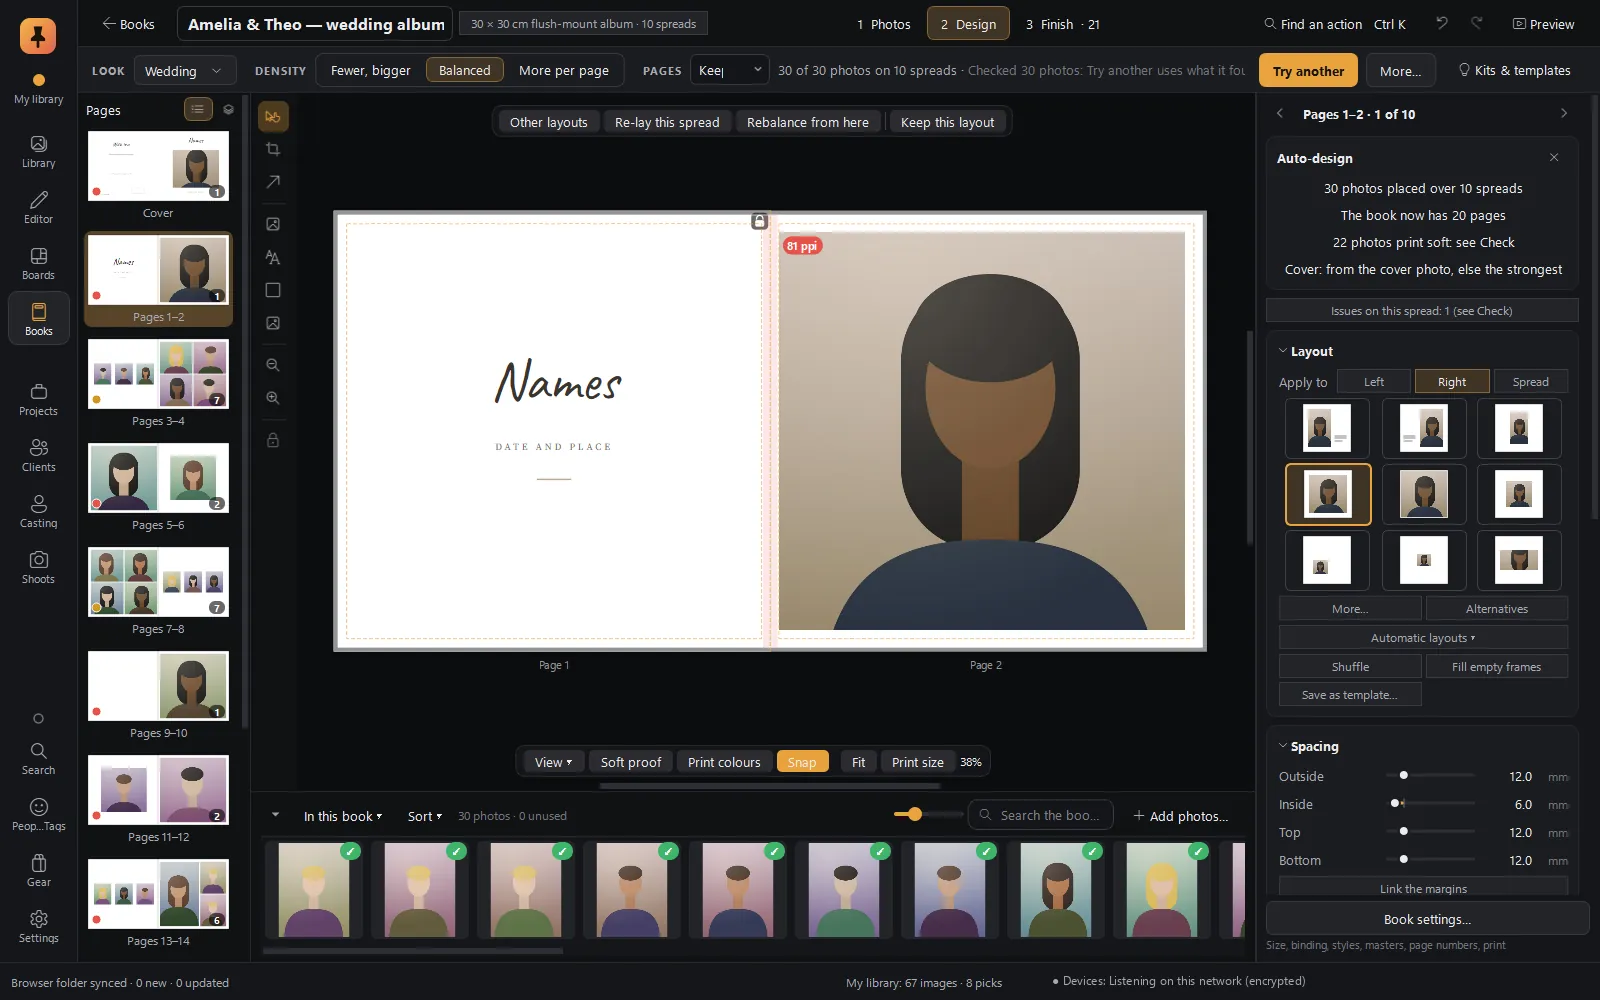 Albums & booksAuto-designed albums in story order, print checks with fixes, client approval spread by spread, lab-ready PDF/X-4.Explore Albums & books
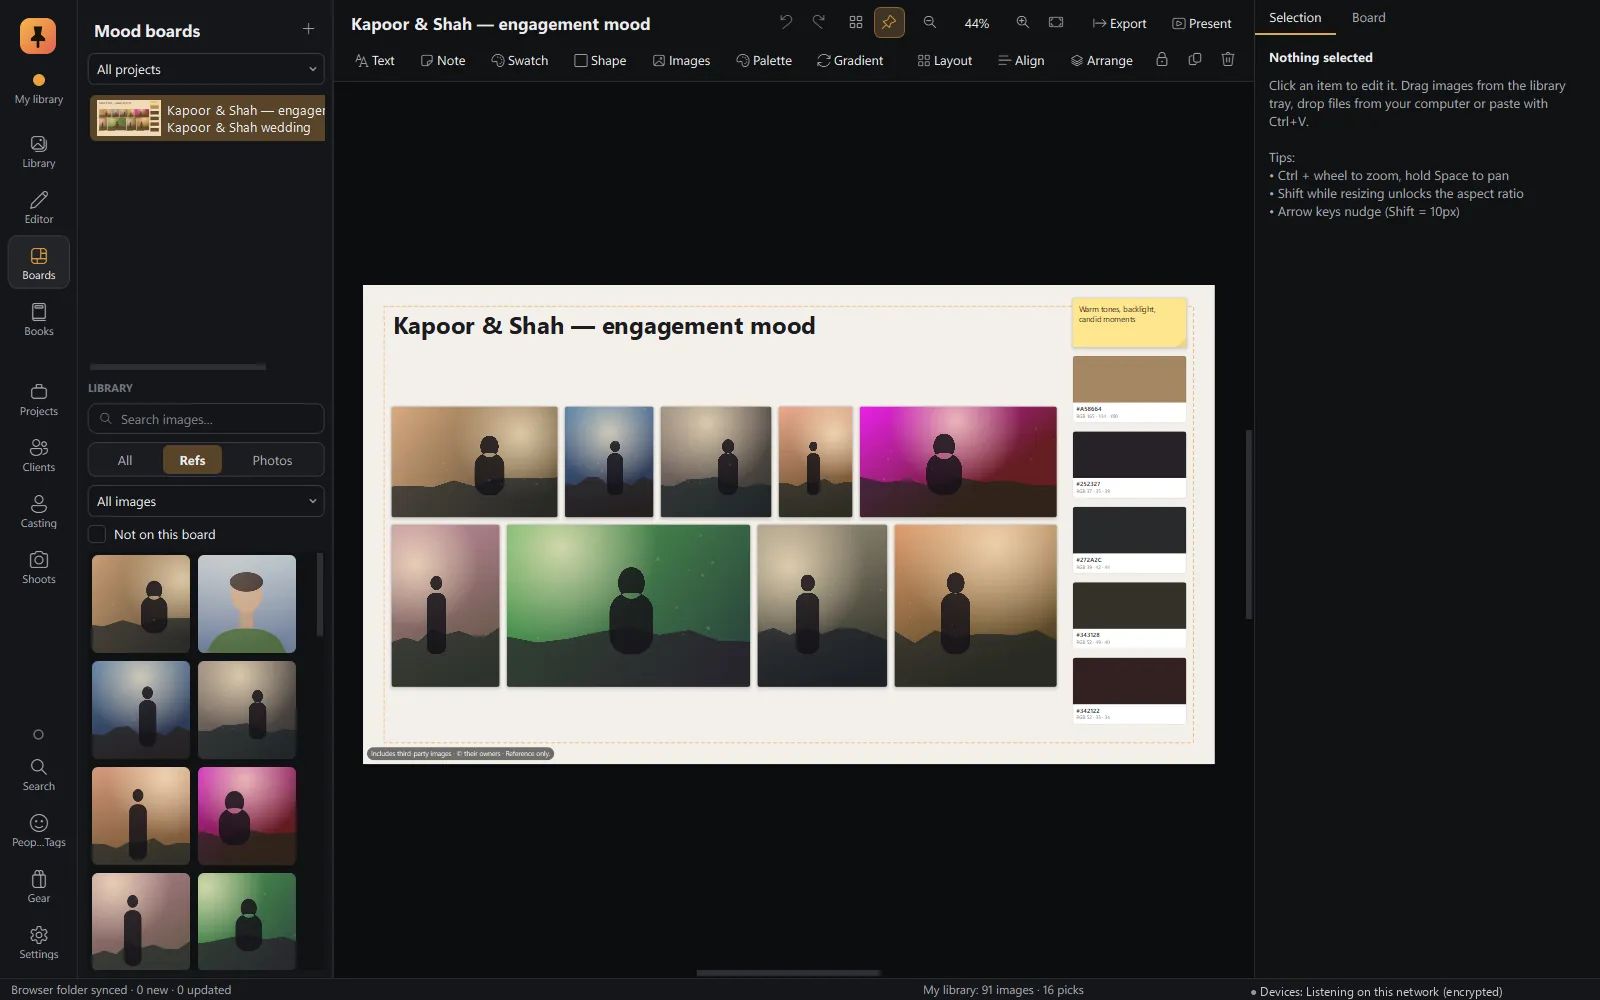 Mood boardsA free-form canvas fed straight from the browser, with a client-ready present mode.Explore Mood boards
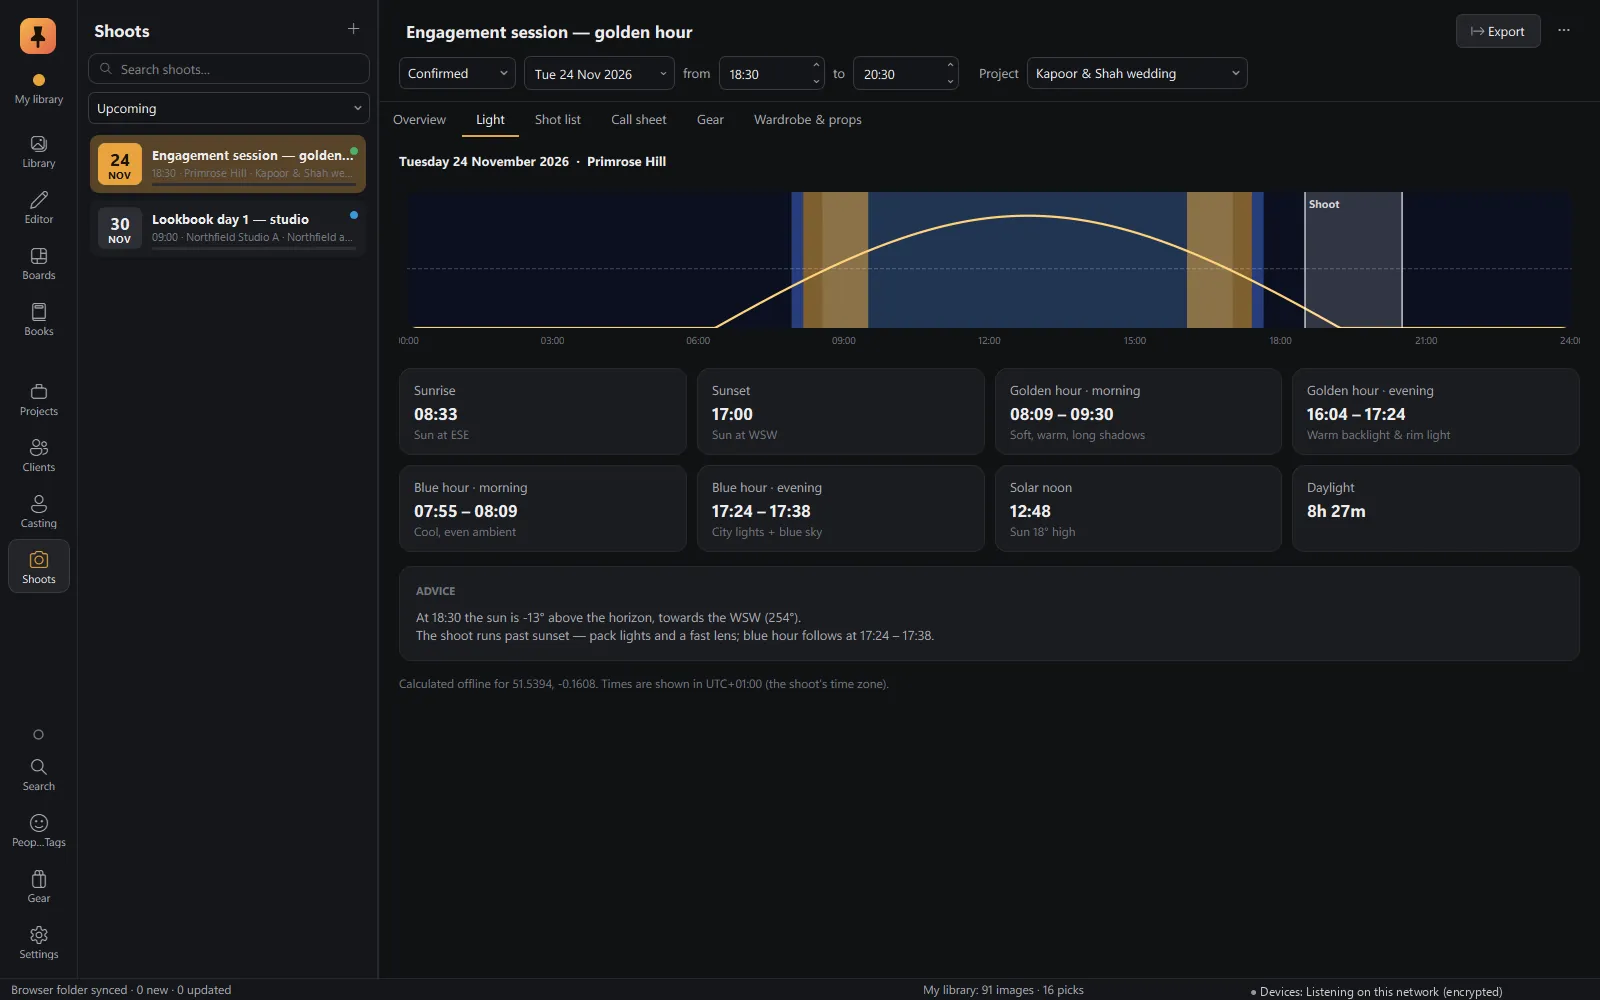 Shoot planningLocation, golden and blue hour, shot lists, call sheets, gear and wardrobe.Explore Shoot planning
Private alpha · Applications open
Try Pinner Studio before anyone else.
Pinner Studio and the Pinner browser extension are being tested now by a small group of working photographers on Windows 10 and 11. Apply in two minutes; we read every application.